

Learn how to crochet a Puff Stitch, a fun ‘puffy’ stitch that is perfect to create texture and decorative elements such as flowers and edging.

What is the Puff Stitch?
The Puff Stitch is a thick or puffy stitch that creates a fun, bubble like texture which makes it perfect for baby blankets, borders, flowers, hats, scarves as well as decorative elements.
It is known as one of the Composite Stitches and is closely related to the Popcorn and Bobble Stitch.
The Puff is really multiple Half Double Crochets (hdc) made together in the same stitch such as hdc2tog, hdc3tog, etc. You can make as many hdc stitches together as you wish, depending on how thick you want it and the weight of your yarn.
For thinner yarn, for example, you will probably use more than with thicker yarn.
The abbreviation for the Puff is ps.
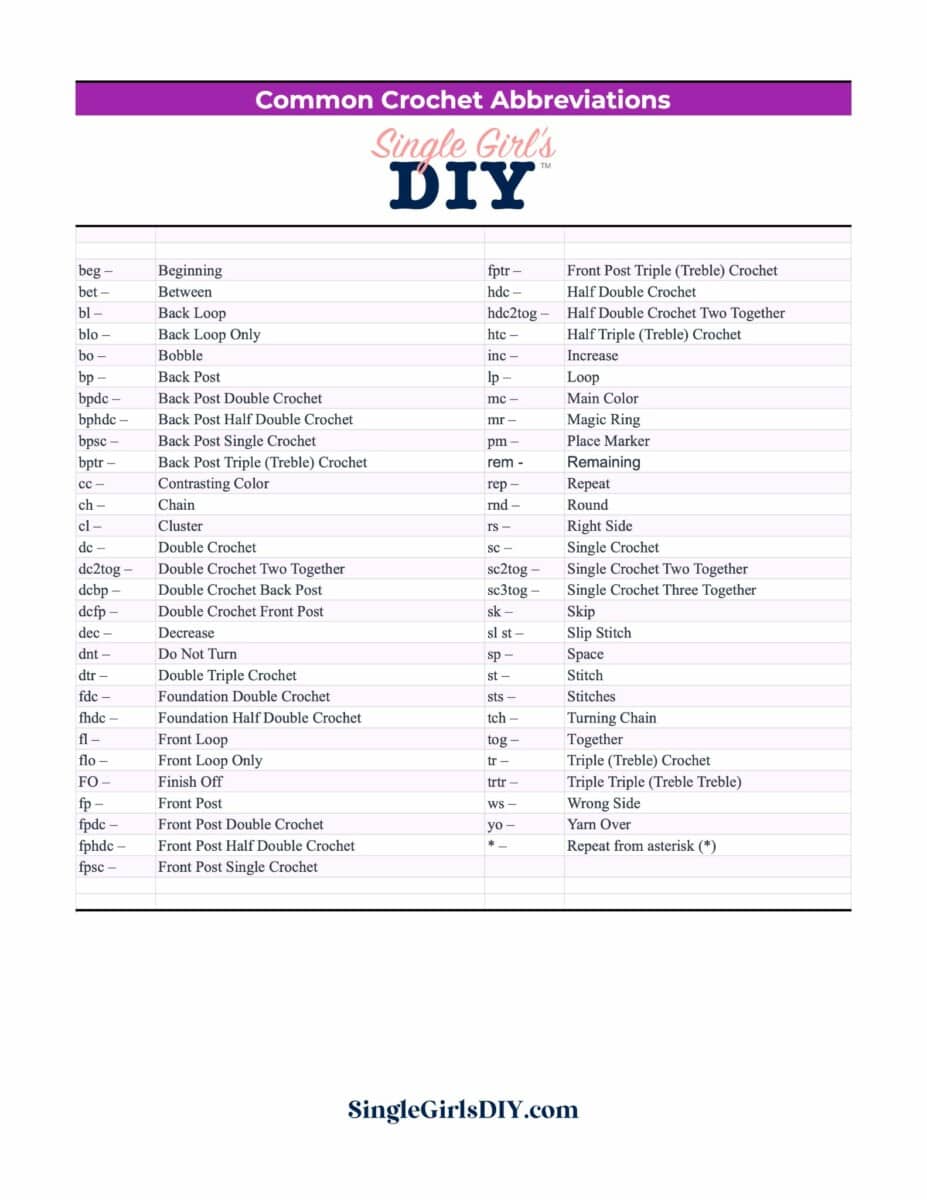
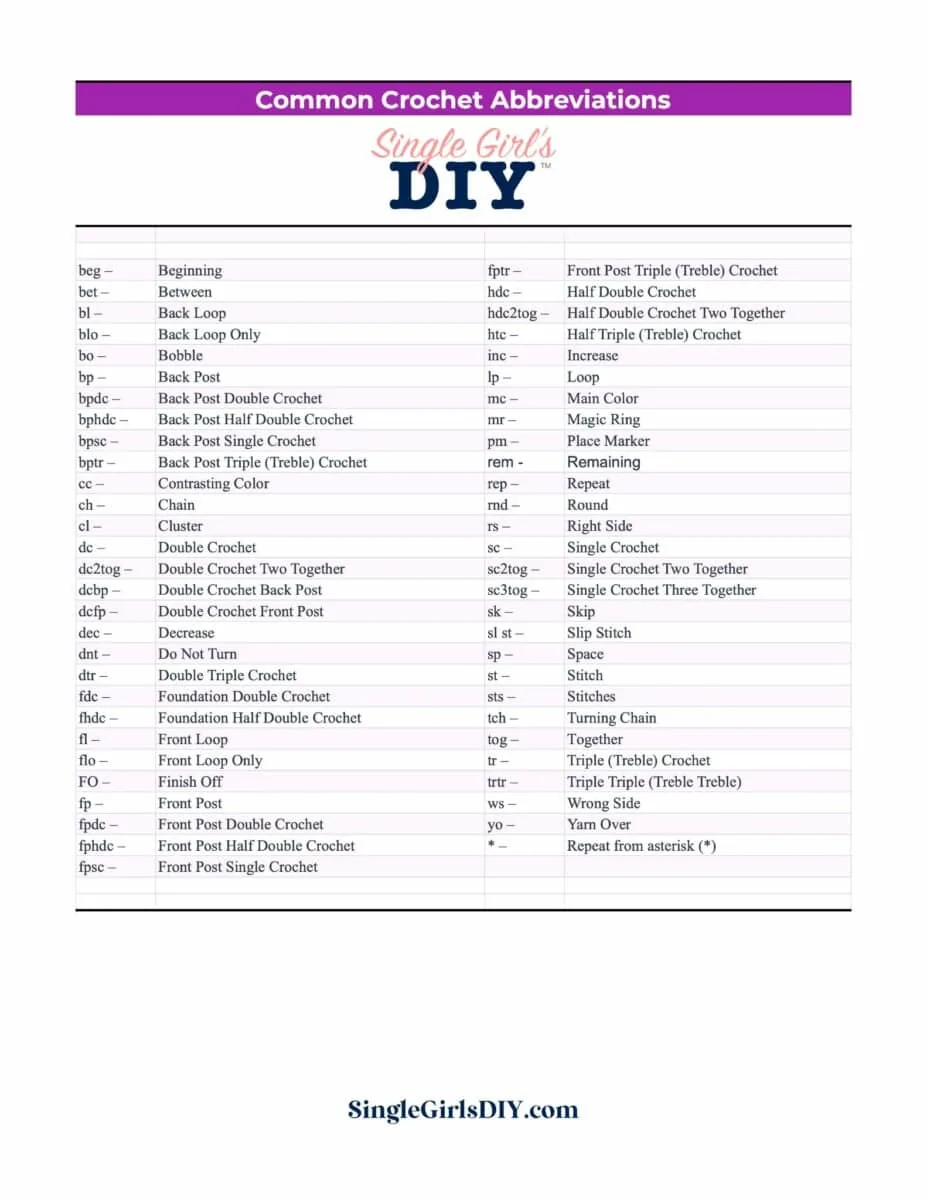
Free Crochet Abbreviations Chart
Get a free printable chart of all the crochet abbreviations you need to know when working on patterns.
The free download is in our pattern library.
Making the Puff Stitch (Step by Step Tutorial)
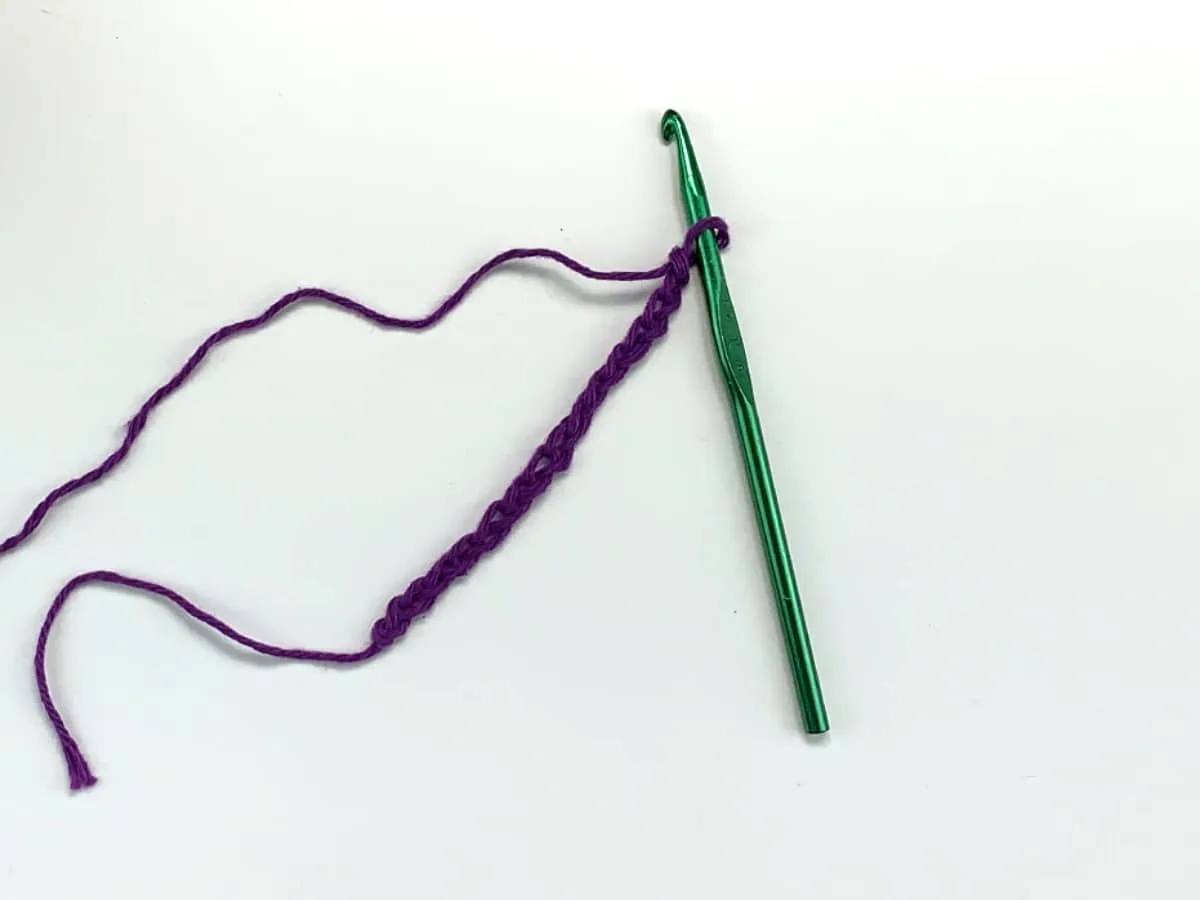
Create a Foundation First
In order to make a Puff, you will first have to crochet some foundation stitches. Technically, these are not a part of the Puff Stitch, but you can’t make one without some base stitches.
We will begin with a basic chain of stitches and a row of single crochet (sc) stitches. Then, turn your work and make two turning chains to bring the second row to the same height as the Puffs will be.
You can start with a row of double crochet (dc) or half double crochets (hdc), if you prefer.


See our list of essential crochet supplies you actually need! And nothing you don’t!
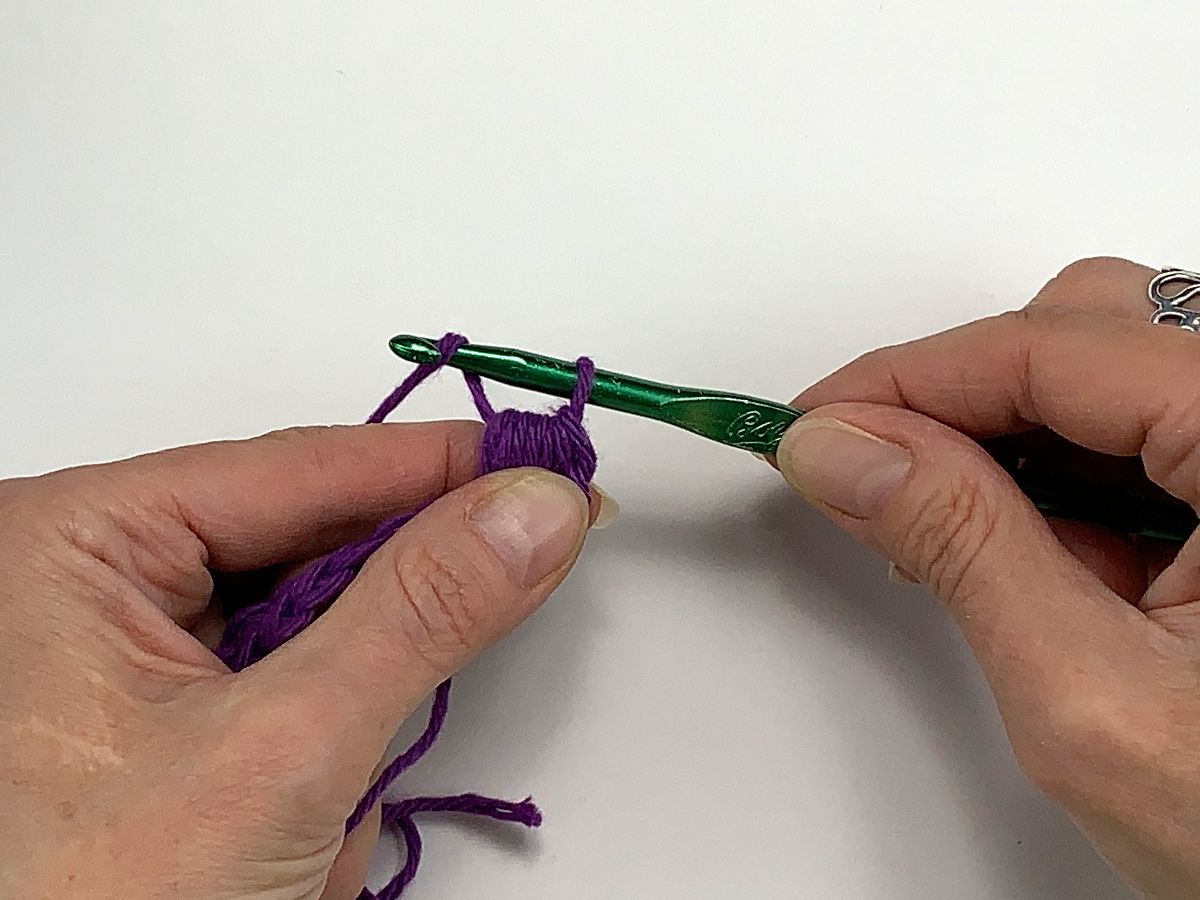
1. Make a Yarn Over
To begin the actual Puff Stitch, you will Yarn Over (using the hook, grab the working yarn from front to back).

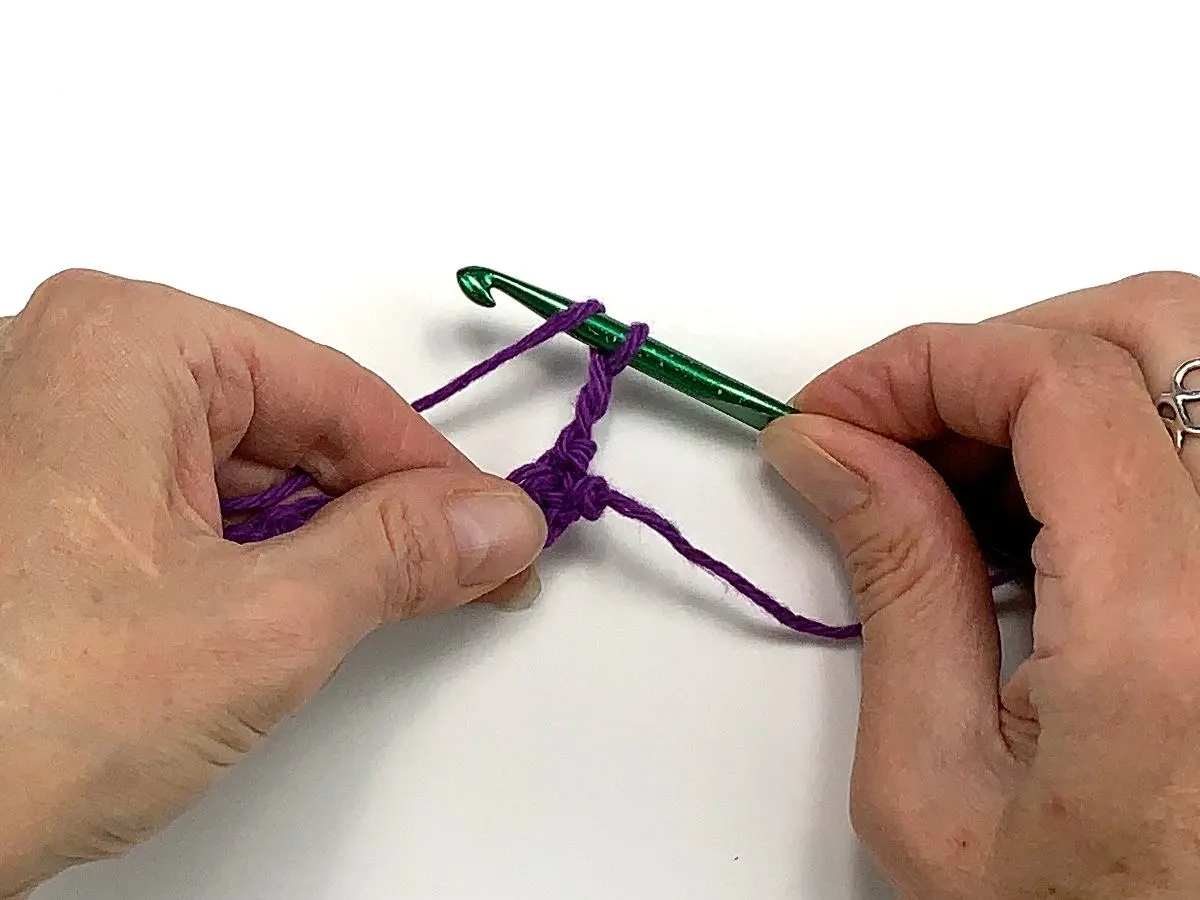
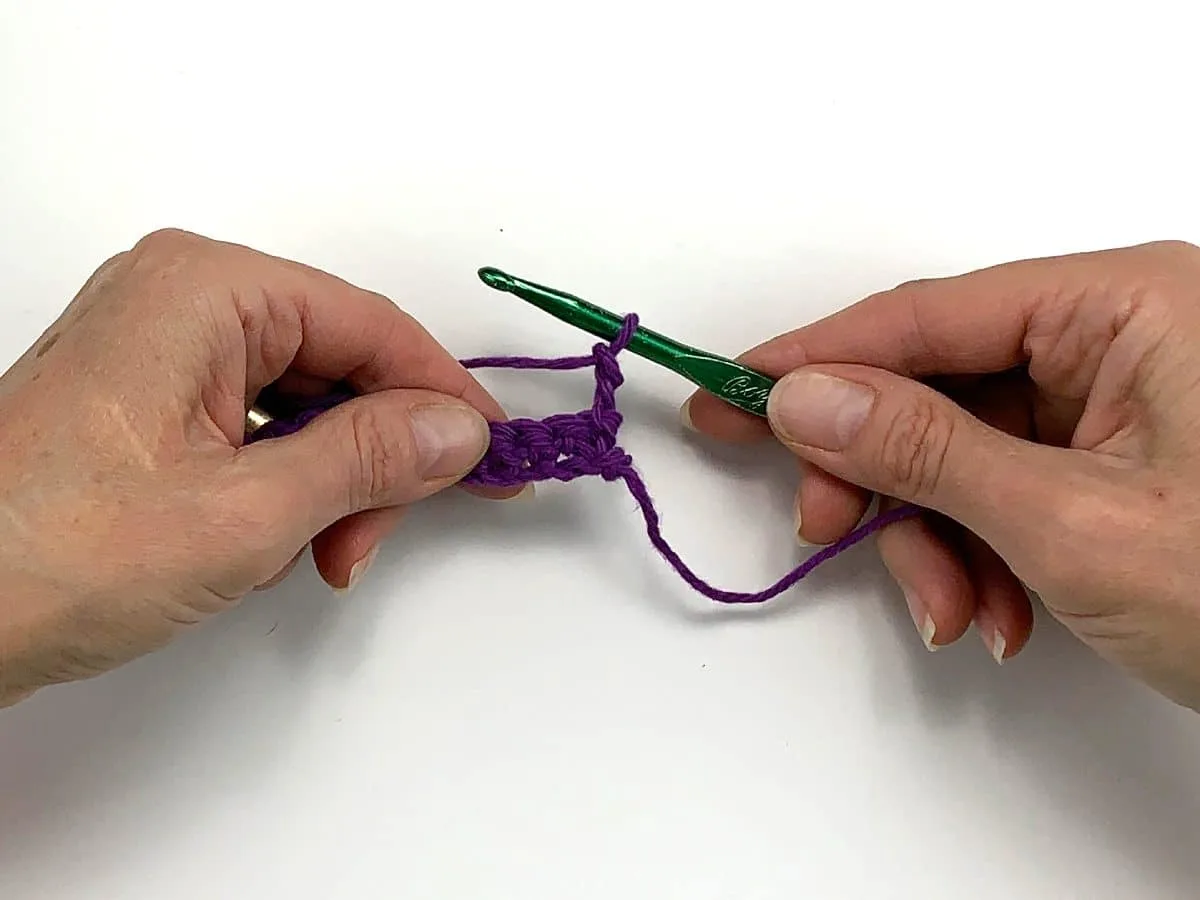
2. Insert Hook in Stitch
Now, insert the hook into the first stitch from below.

3. Yarn Over a Second Time
Grab the working yarn with the crochet hook.

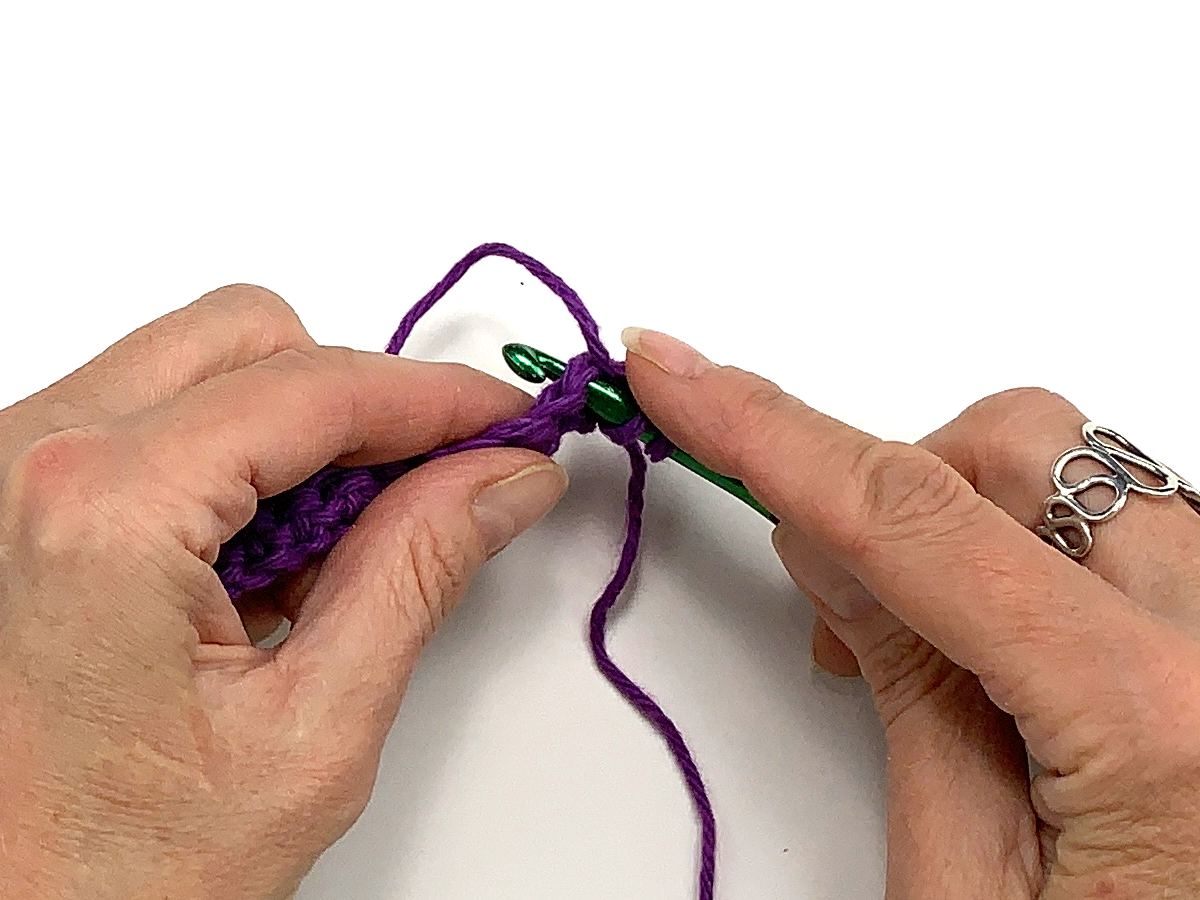
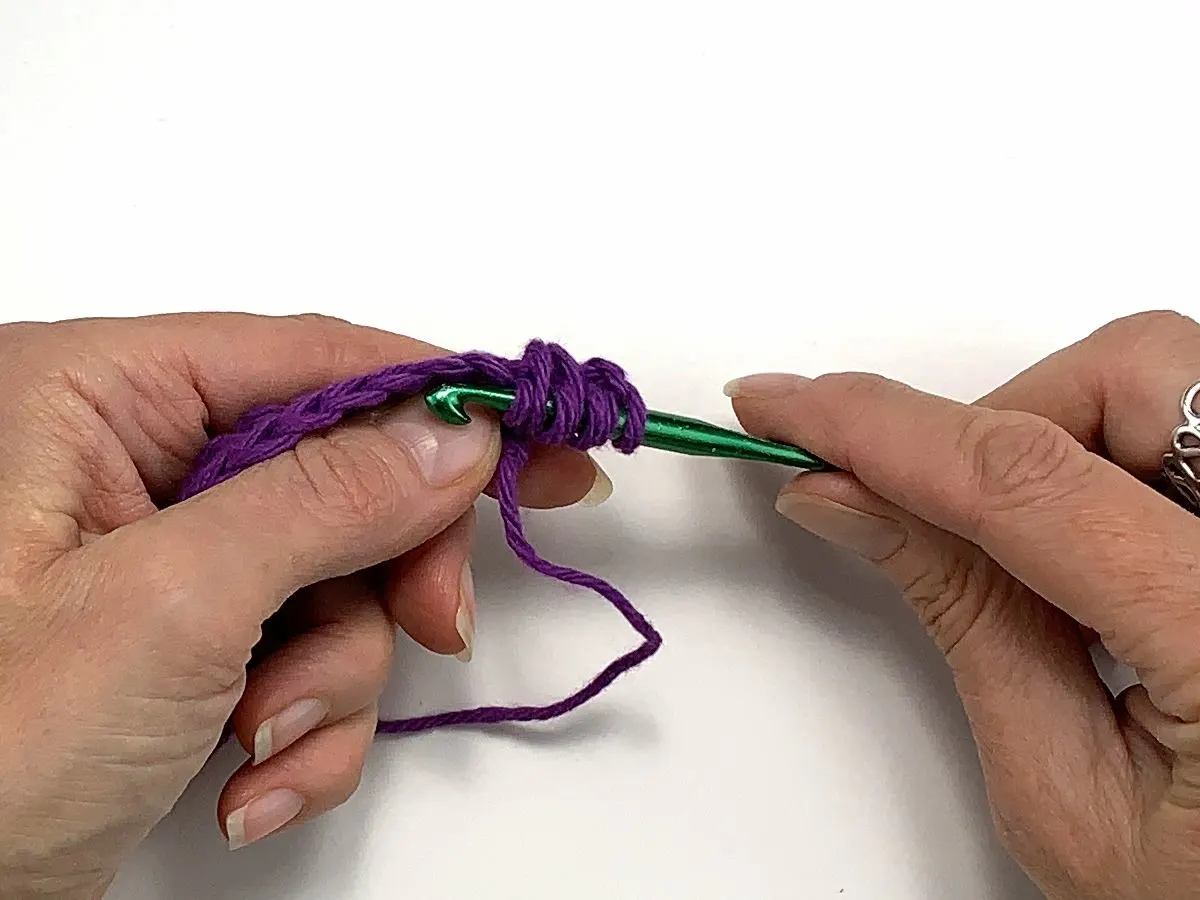
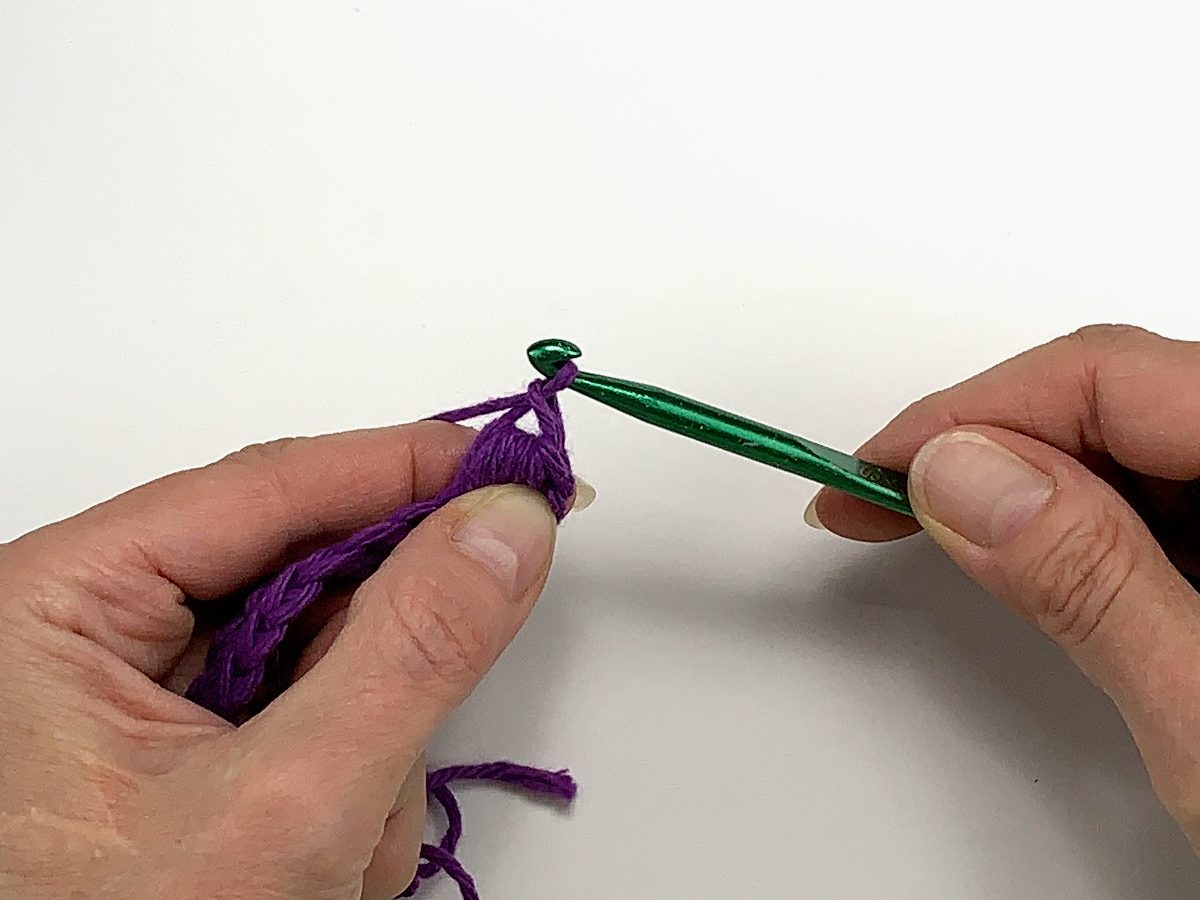
4. Pull Yarn Through
Pull the crochet hook backwards through the stitch only. Gently pull your loops up to about the height of a double crochet row.
There should now be three loops left on your hook. This completes the first half double in that stitch.
For this tutorial, we will make a total of three half doubles. You can make as many of these as you wish.

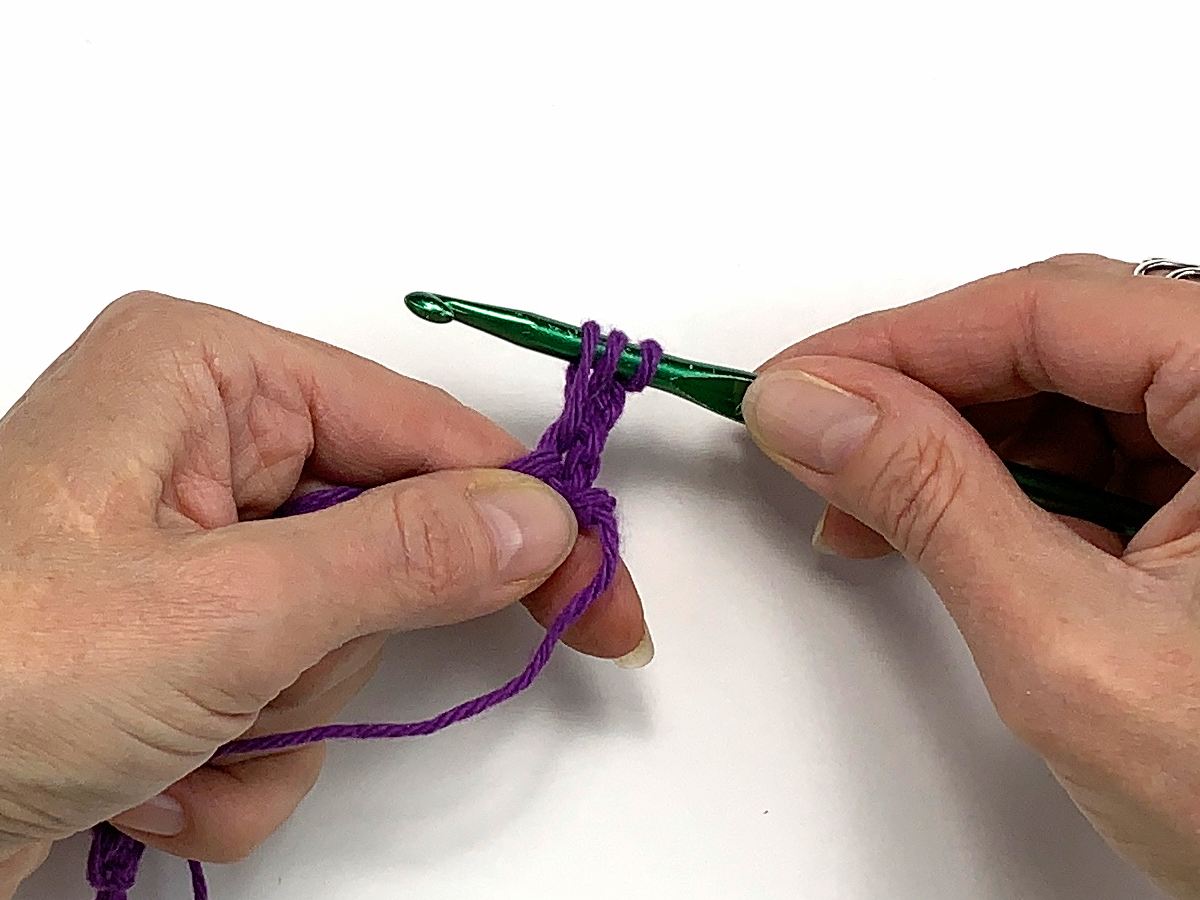

5. Yarn Over a Third Time
To make the second half double of the Puff Stitch, you will repeat steps 2 through 5 from above. So, you will again do a Yarn Over.

6. Insert the Hook a Second Time
Then, insert the crochet hook into the same stitch again from below.

7. Yarn Over Again
Once again, grab the working yarn with your hook.

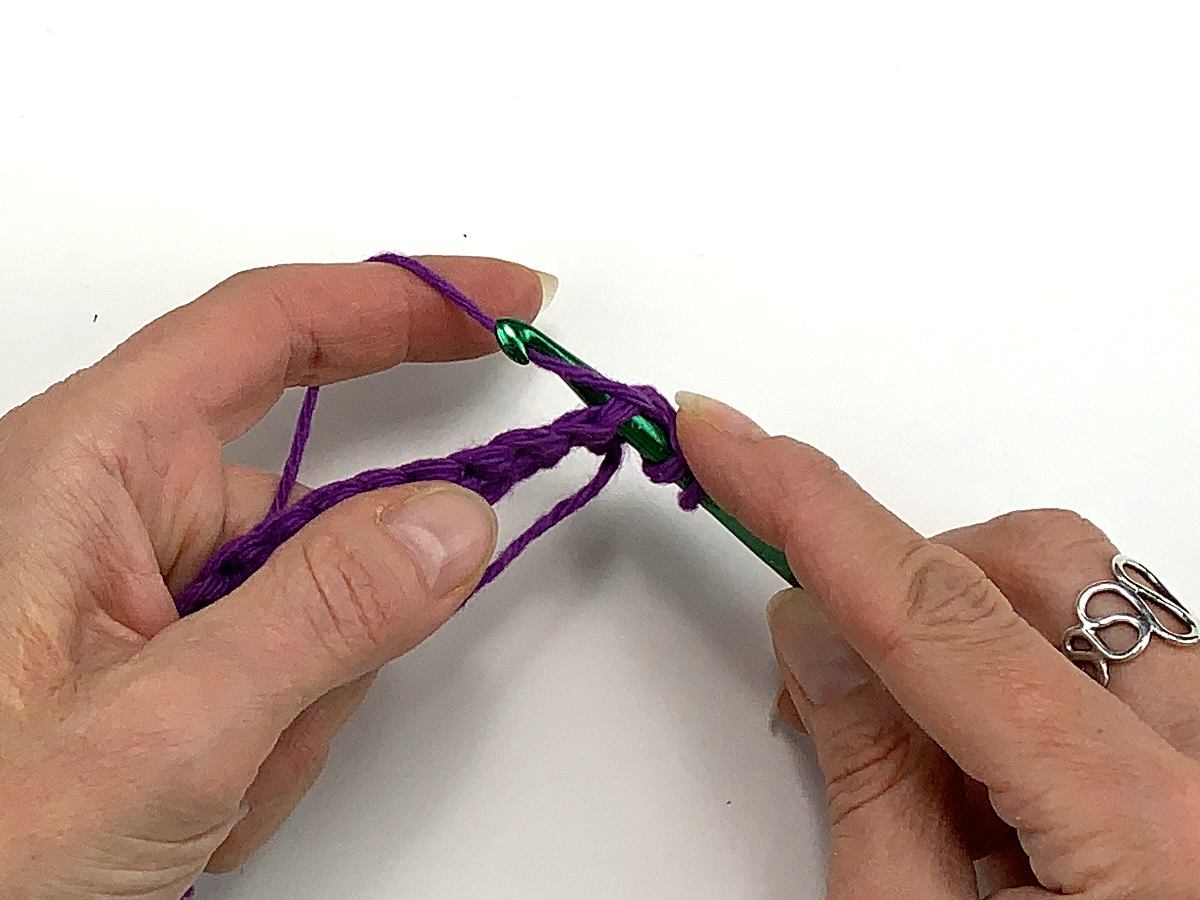
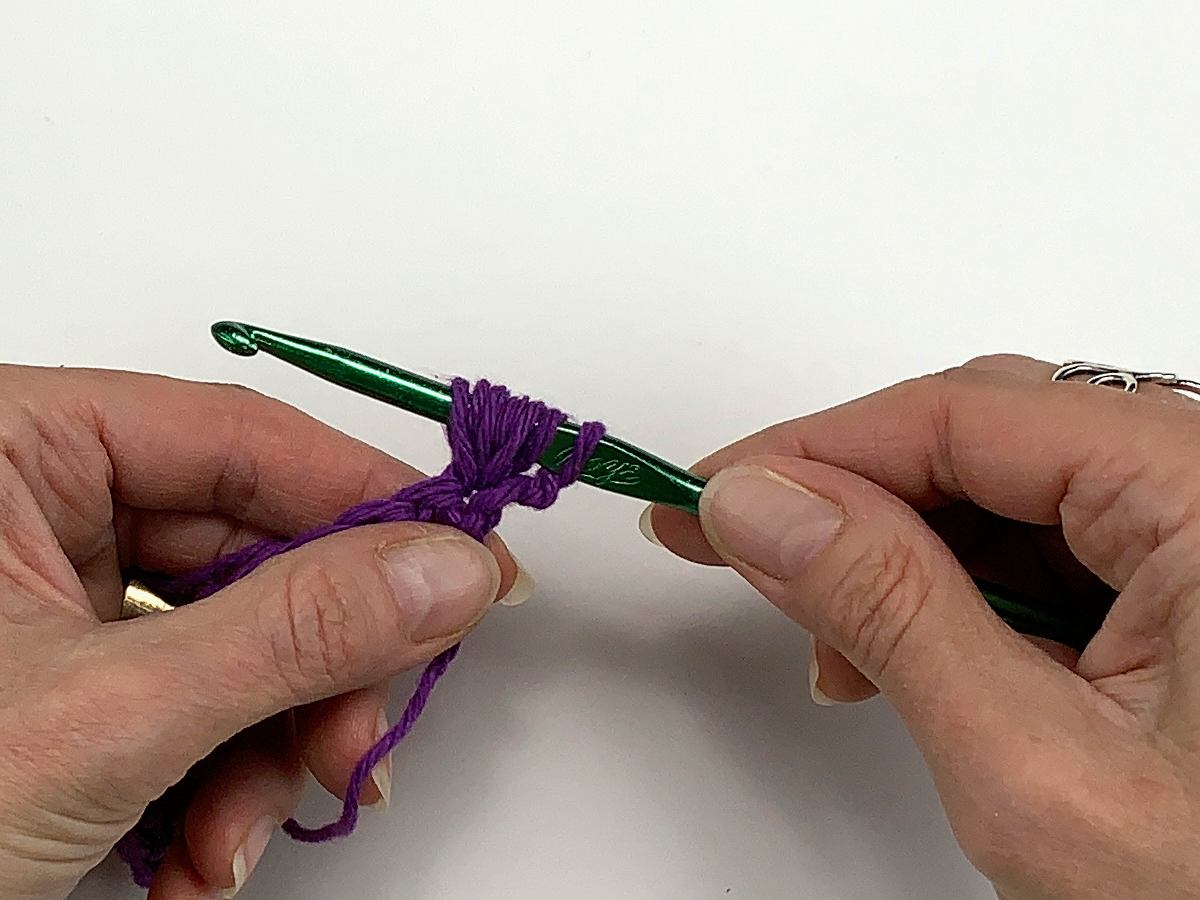
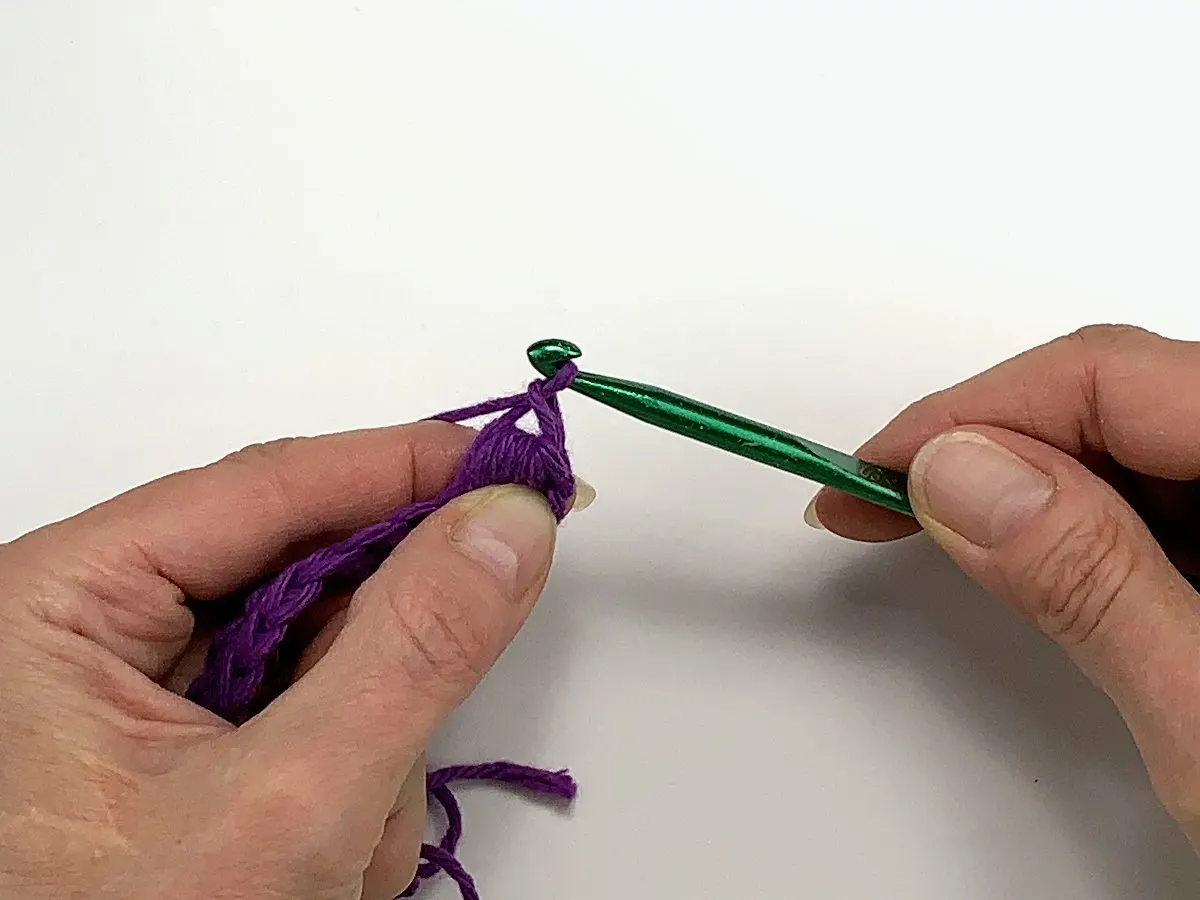
8. Pull the Yarn Through the Stitch
Pull the grabbed yarn backwards through the one stitch. Again, stretch and pull the loops up to the height of a double crochet.
You should now have five loops on your hook.


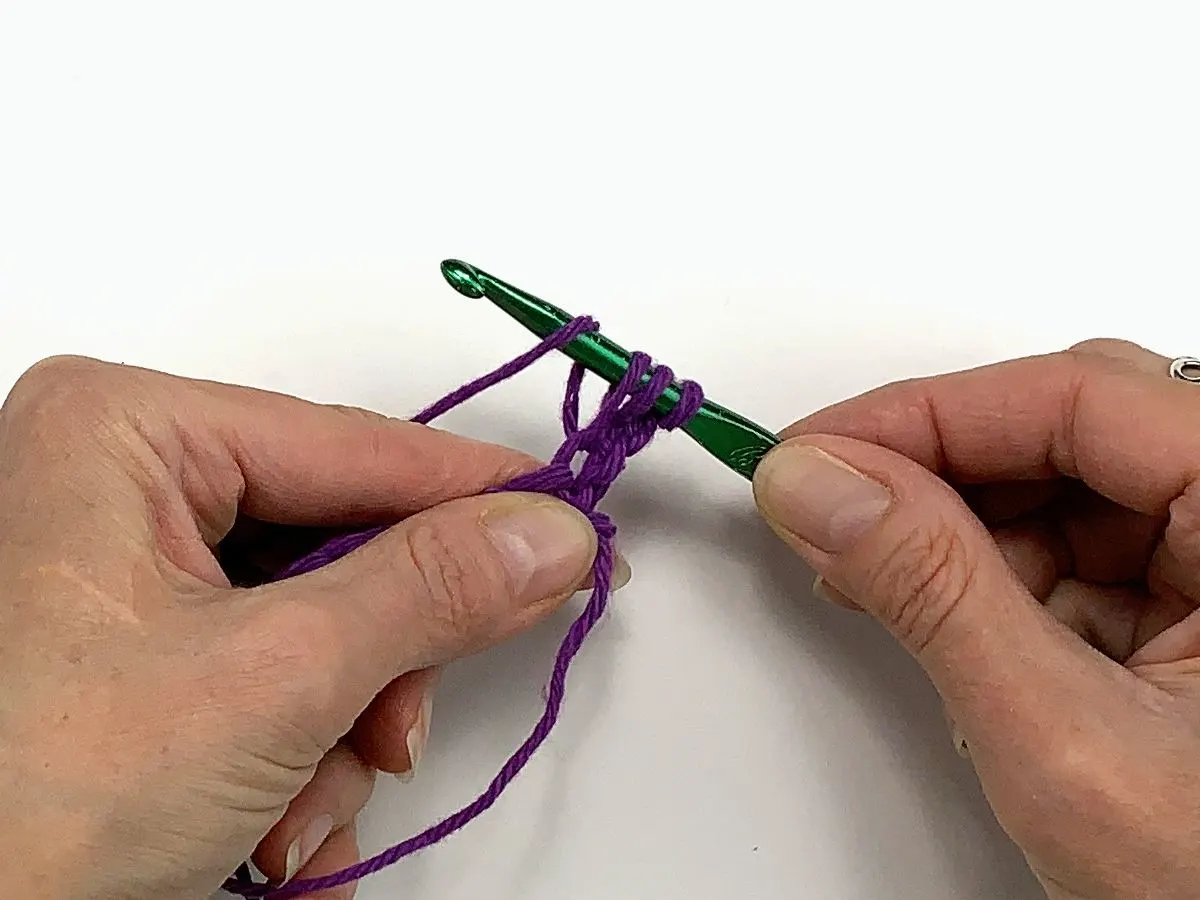
9. Repeat
This completes the second part of the Puff.
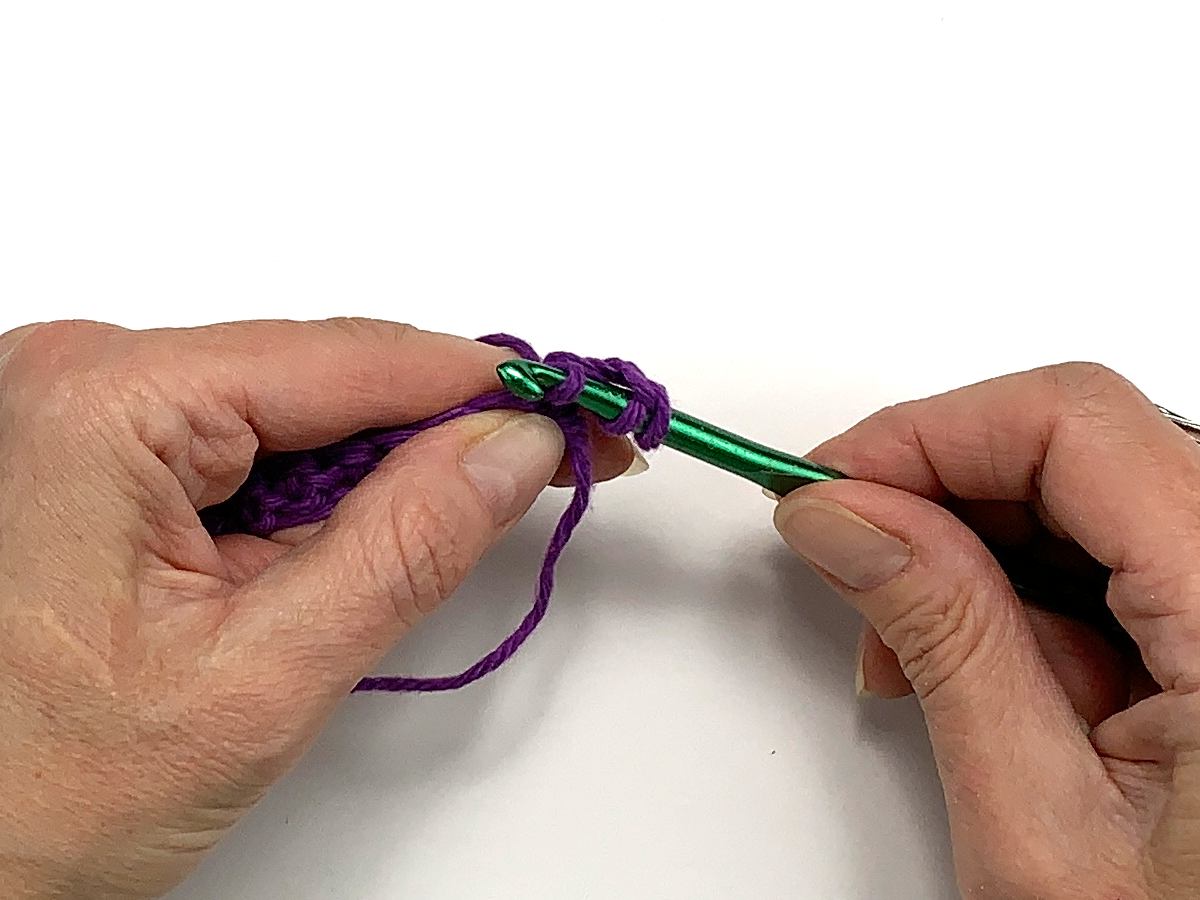
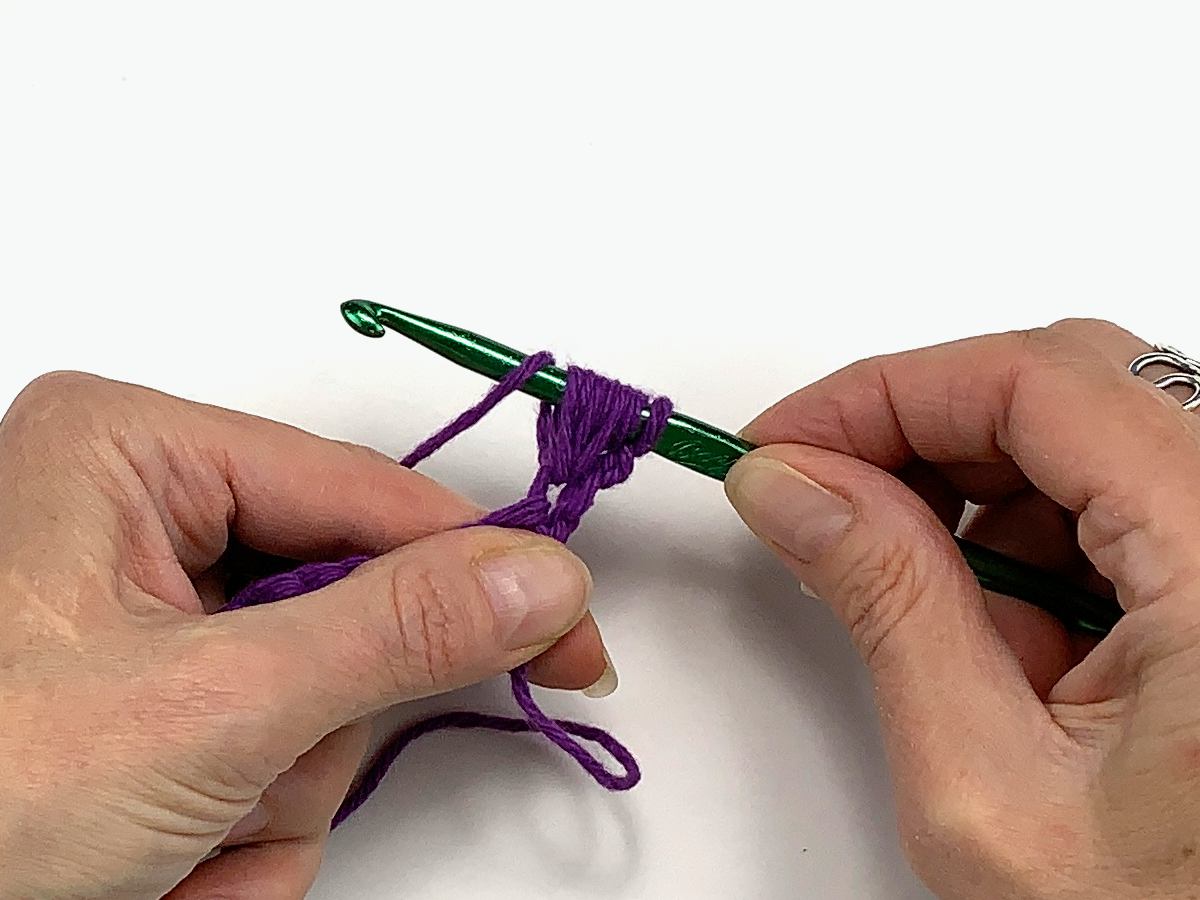
Note: Steps 2 through 5 can be repeated as many times as you wish to increase the “puffiness” of your Puff Stitch and make it fuller.
A third Puff worked into the same stitch will leave you with seven loops on the hook (see below). A fourth Puff will give you nine loops on the hook.

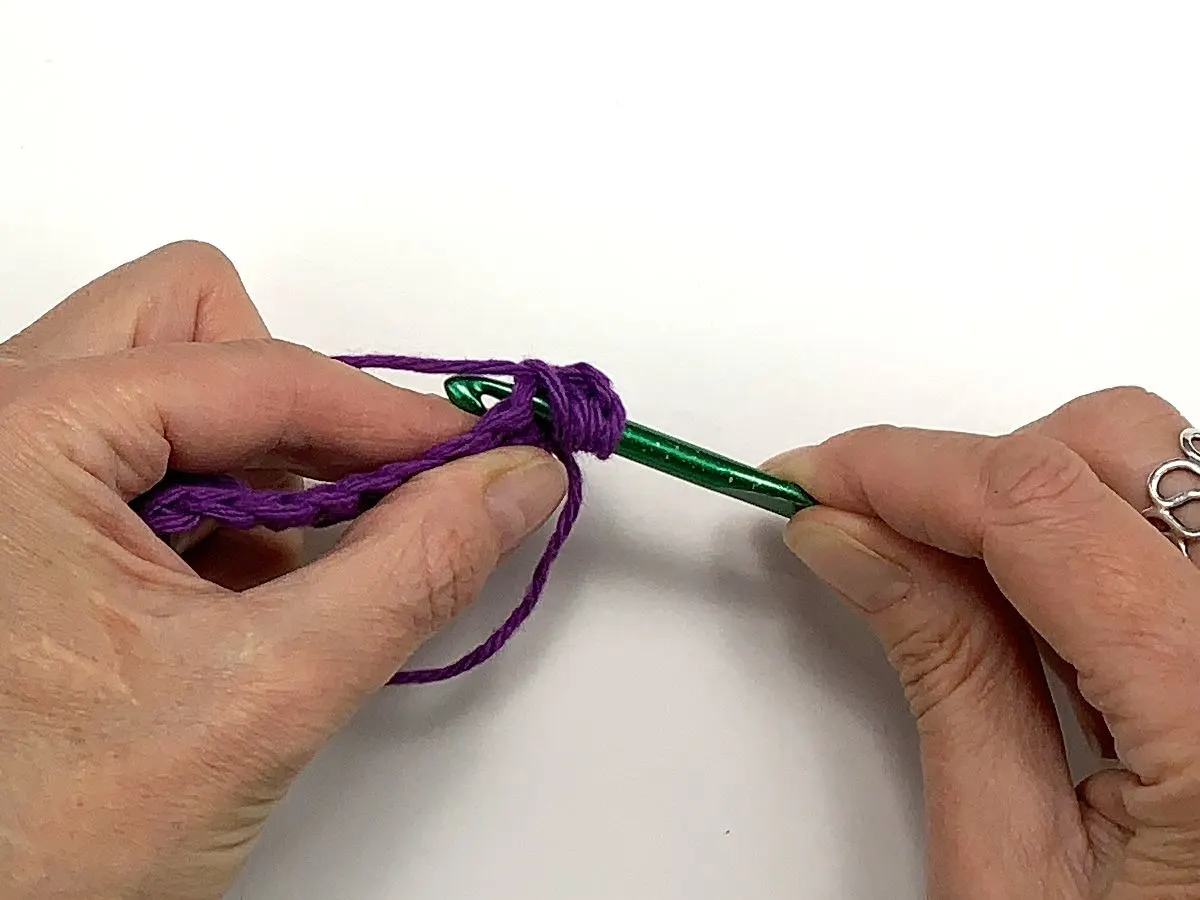
10. Yarn Over
Once you are happy with the number of Puffs in your stitch, you will Yarn Over again.

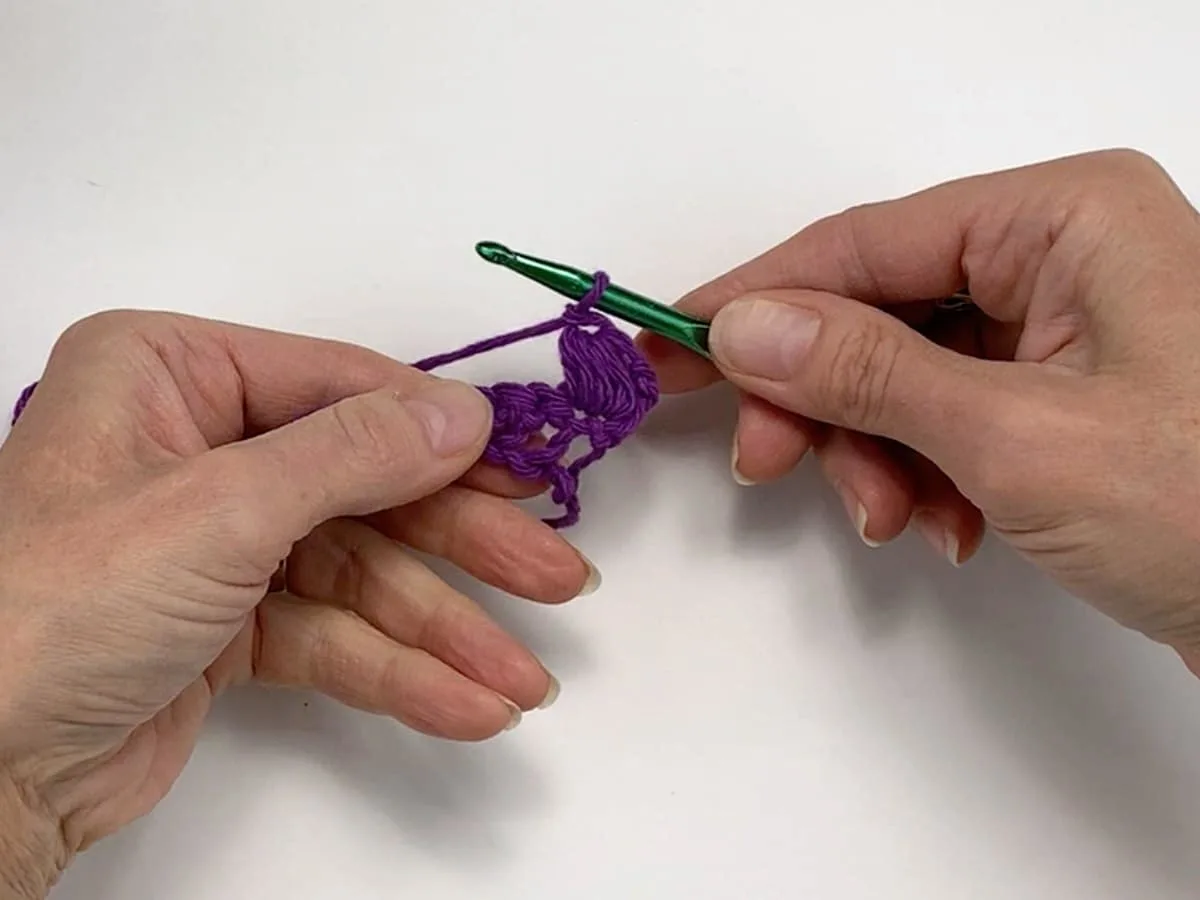
11. Pull the Yarn Through
Now you will take the grabbed yarn and pull it through all of the loops left on your hook.

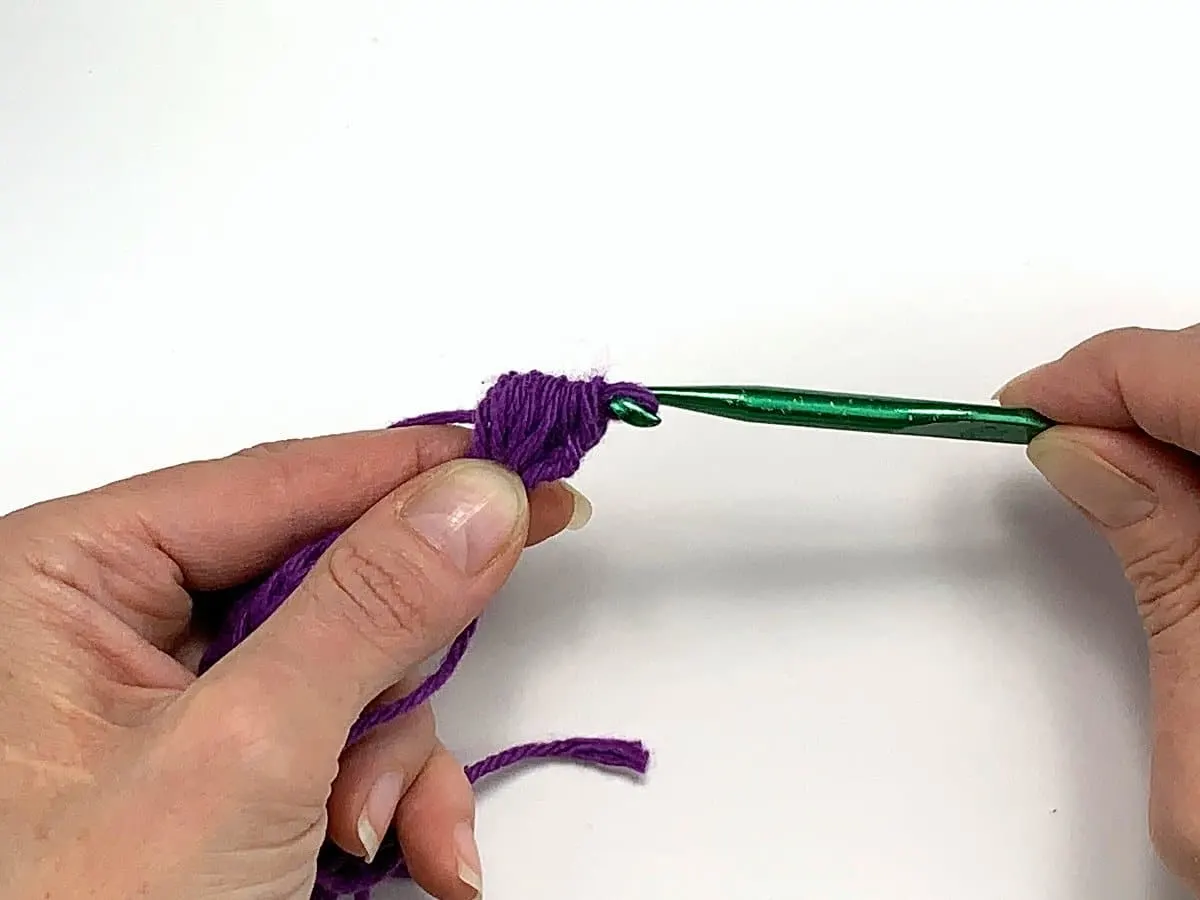
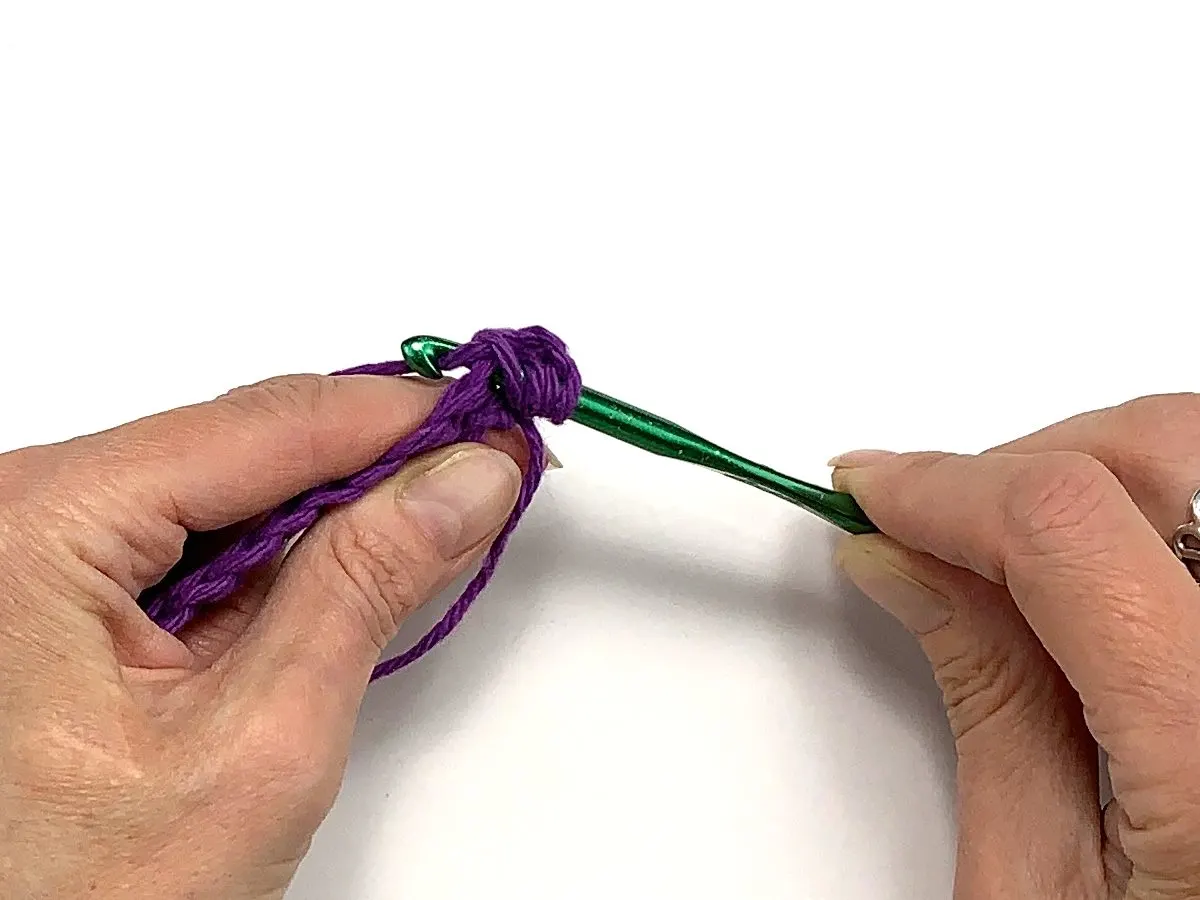
12. Finish the Puff Stitch
To finish this stitch, you will again Yarn Over and pull the yarn through the one loop that is on your hook. This “locks” the stitch.
Note: Not all patterns call for you to lock the stitch. Make sure and follow your crochet pattern carefully so you end up with the correct number of stitches.


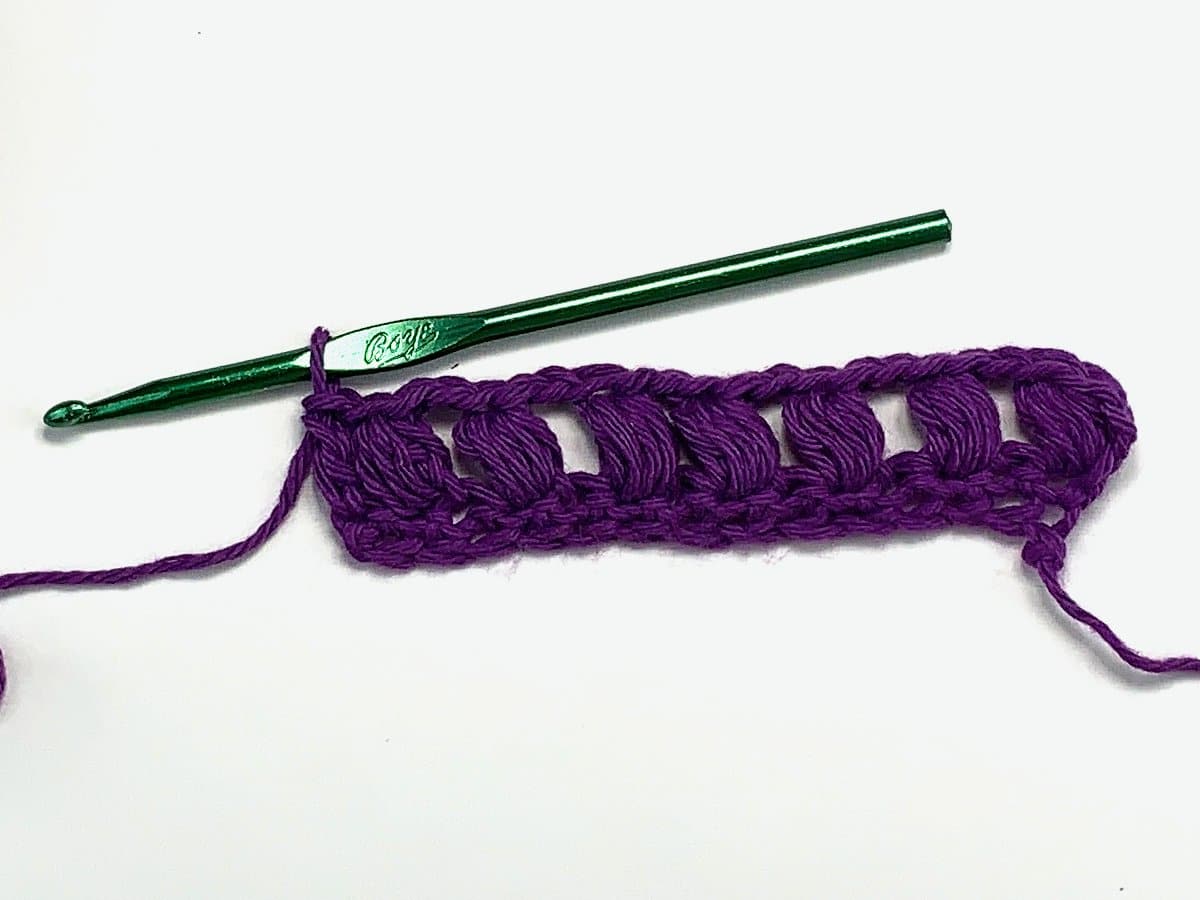
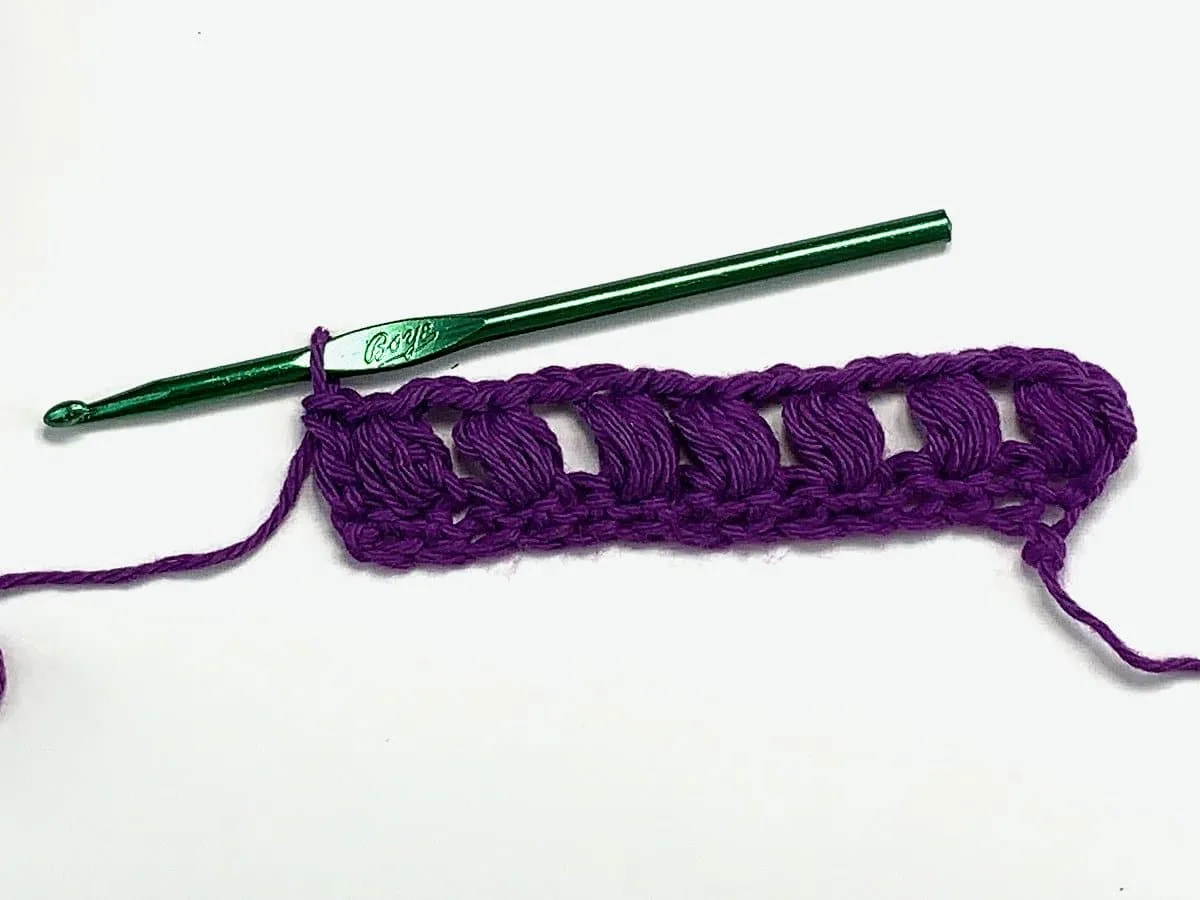
Finishing the First Row
To make more Puff Stitches in a row, you will need to skip a stitch from below and work the second Puff in the third stitch. Continue skipping one and working your Puffs to the end of the row.
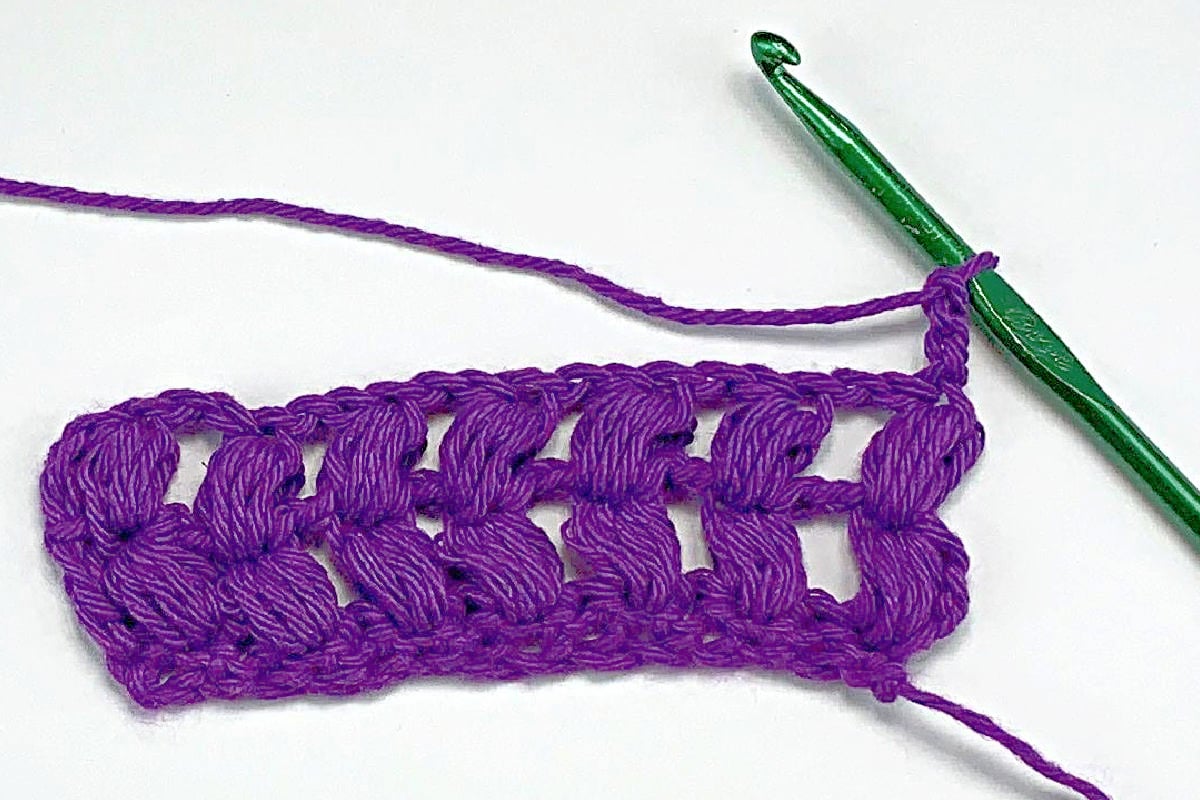
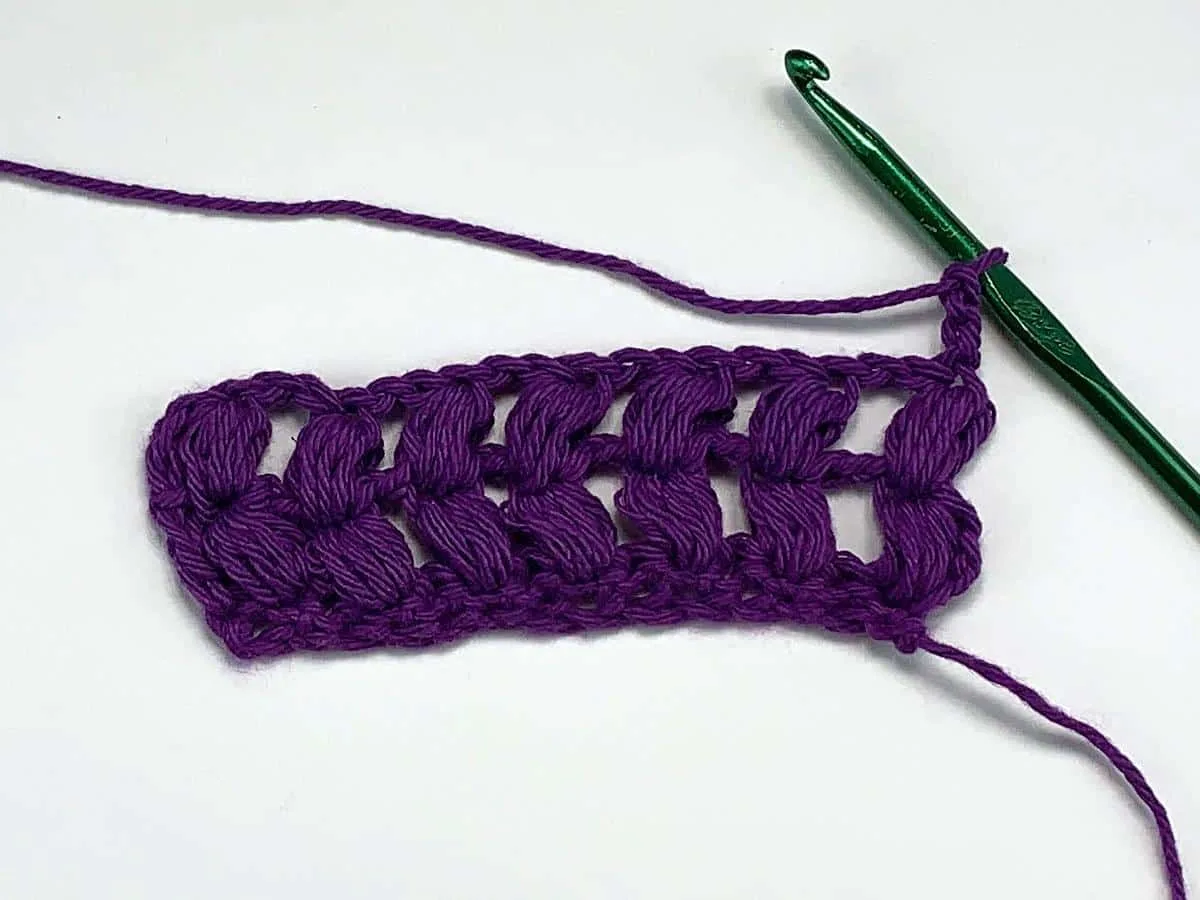
Working a Second Row
To work a second row of Puffs, you will make two chains at the end of row one (turning chains) and then turn your work.
Begin the first Puff in the hole at the top of the first Puff Stitch from the row below.
Continue skipping one and working your Puffs to the end.

That completes how to crochet a Puff Stitch. This is the basic version and there are variations. However, this tutorial will get you started as a beginner.
To practice your stitches, why not try this triangle scarf pattern that is perfect for practicing the Puff stitch.
Be sure to Pin This guide for how to make a puff stitch in crochet to save for later!
Related Stitch Tutorials:
- How to Make a Crochet Magic Circle
- Easy Slip Knot Tutorial
- 6 Beginner Crochet Stitches
- Shell Stitch Step by Step
- Easy Waffle Stitch
- How to Work the Triple Crochet Stitch (tc or tr)
- Front Post Double Crochet Stitch Tutorial
