


A shell stitch (sh) in crochet is a beautiful stitch that looks intricate and has a delicate pattern. Though the shell crochet stitch looks complicated, it is very easy to learn, even for beginners.
There are crochet shell stitch variations and this guide shows you how to make two different varieties of shell stitch.
What is a Shell Crochet Stitch?
A shell crochet stitch is an intermediate crochet technique that creates a delicate and intricate pattern of shells or fans. These shells are made up of multiple stitches, typically three to five double crochet stitches, and are worked in alternating rows.
The shell stitch is perfect for adding a decorative touch to various crochet projects such as sweet baby blankets, scarves, or triangle shawls. It is especially perfect for borders and edgings and can give a simple crocheted afghan a beautiful scalloped edge.
Despite its intricate appearance, the shell stitch is relatively easy to learn and can be mastered by beginners. It offers endless possibilities for creativity, allowing crocheters to explore different stitch variations, heights, and even yarn colors to achieve unique and stunning designs.
While a shell stitch in one color of yarn is pretty, you can also alter the yarn of each row, giving your piece multiple colors. By using different shades of the same color, you could make a lovely ombre pattern with the stitches.
The abbreviation for shell stitch is sh.
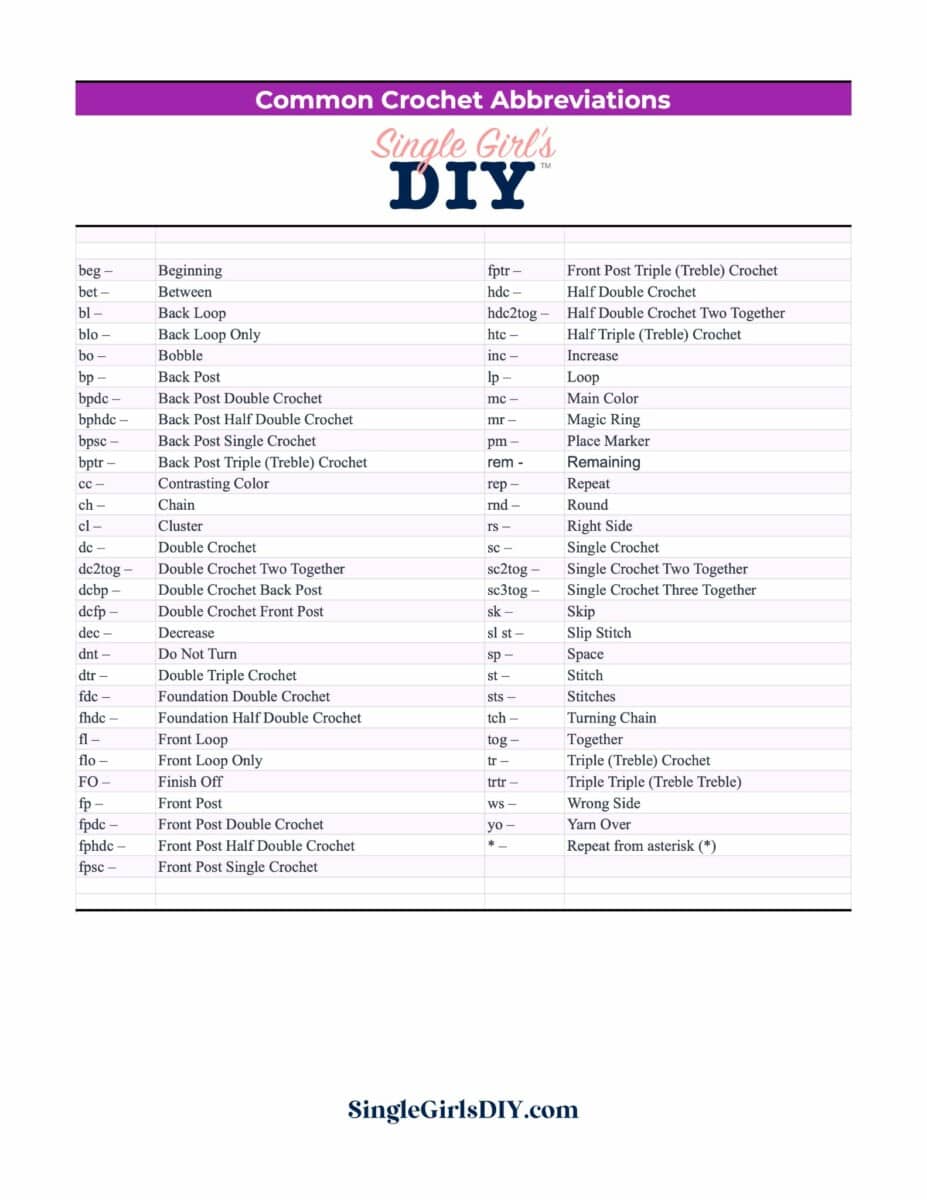
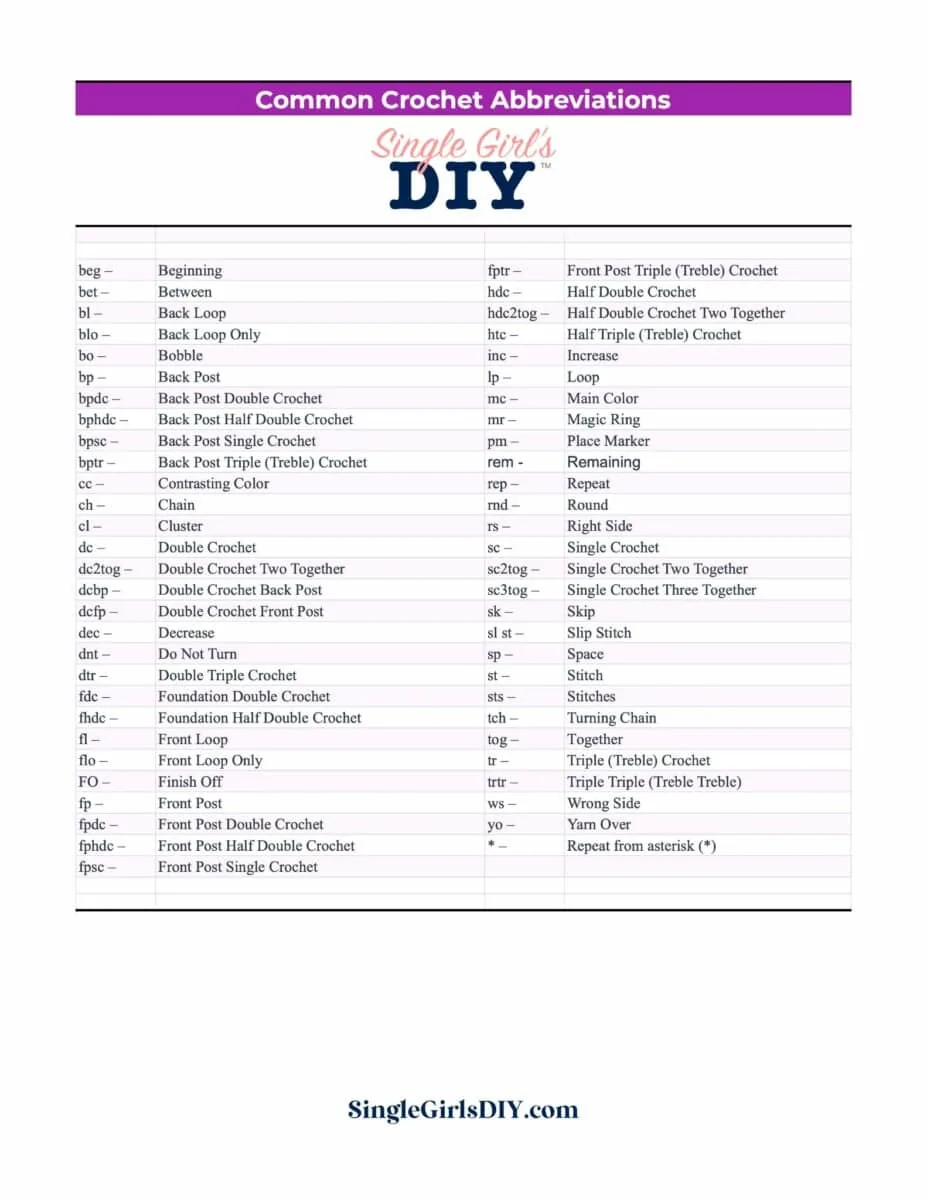
Free Crochet Abbreviations Chart
Get a free printable chart of all the crochet abbreviations you need to know when working on patterns.
The free download is in our pattern library.
How to Work a Basic Shell Stitch
This tutorial will show you two different variations of the shell pattern.
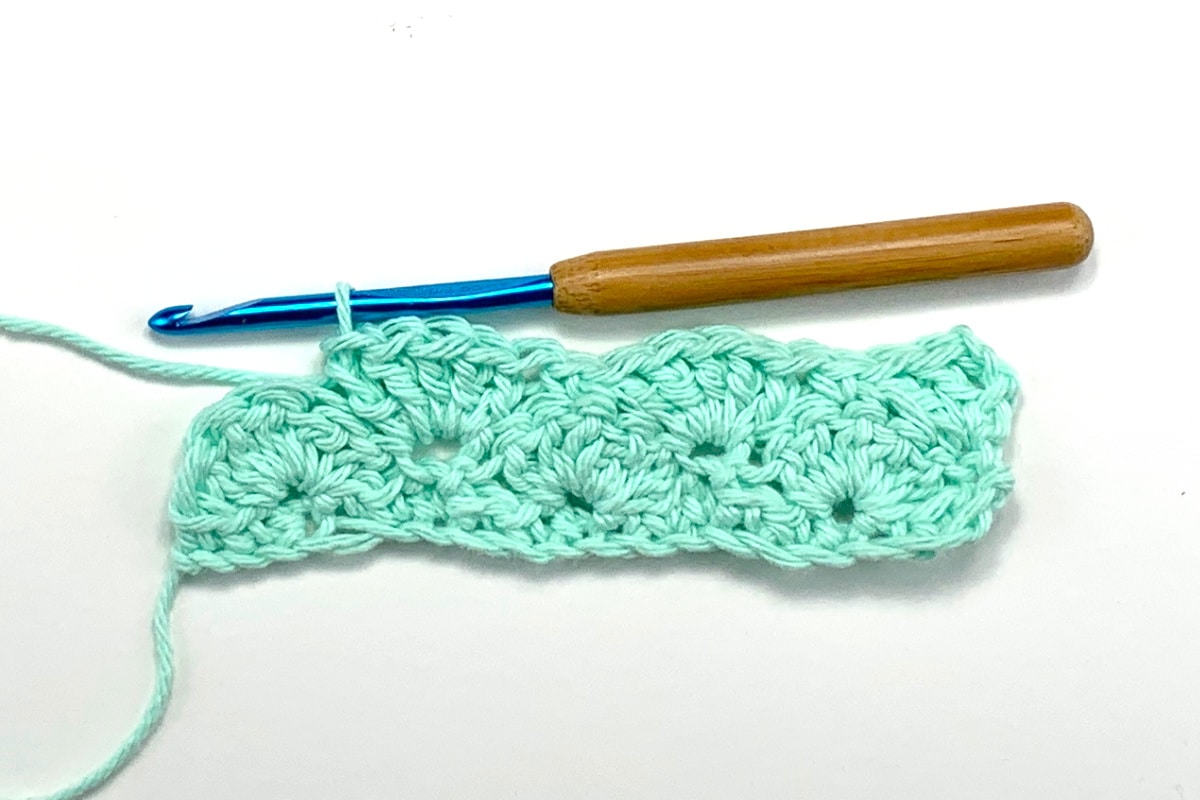
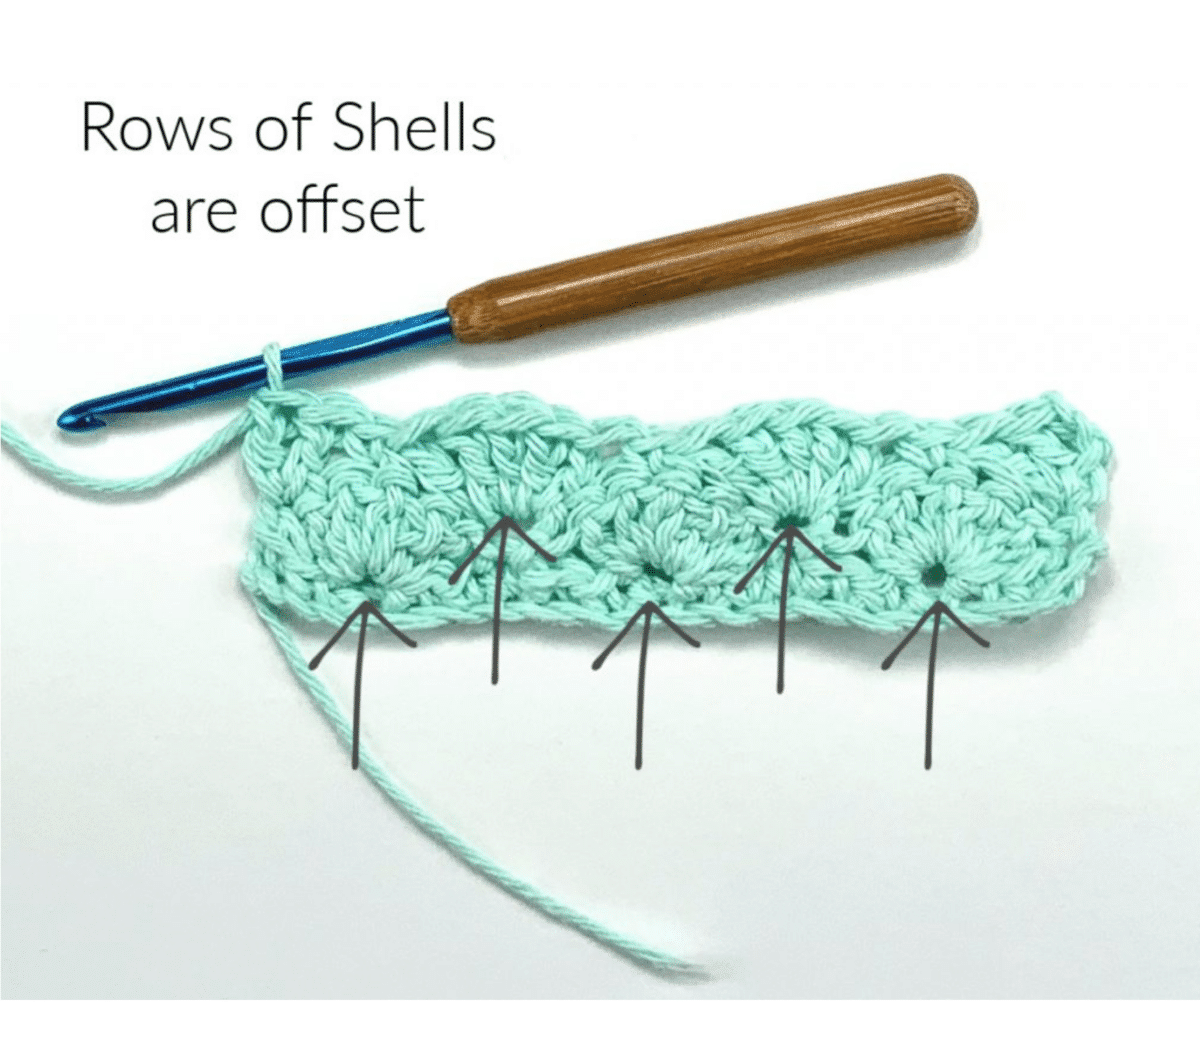
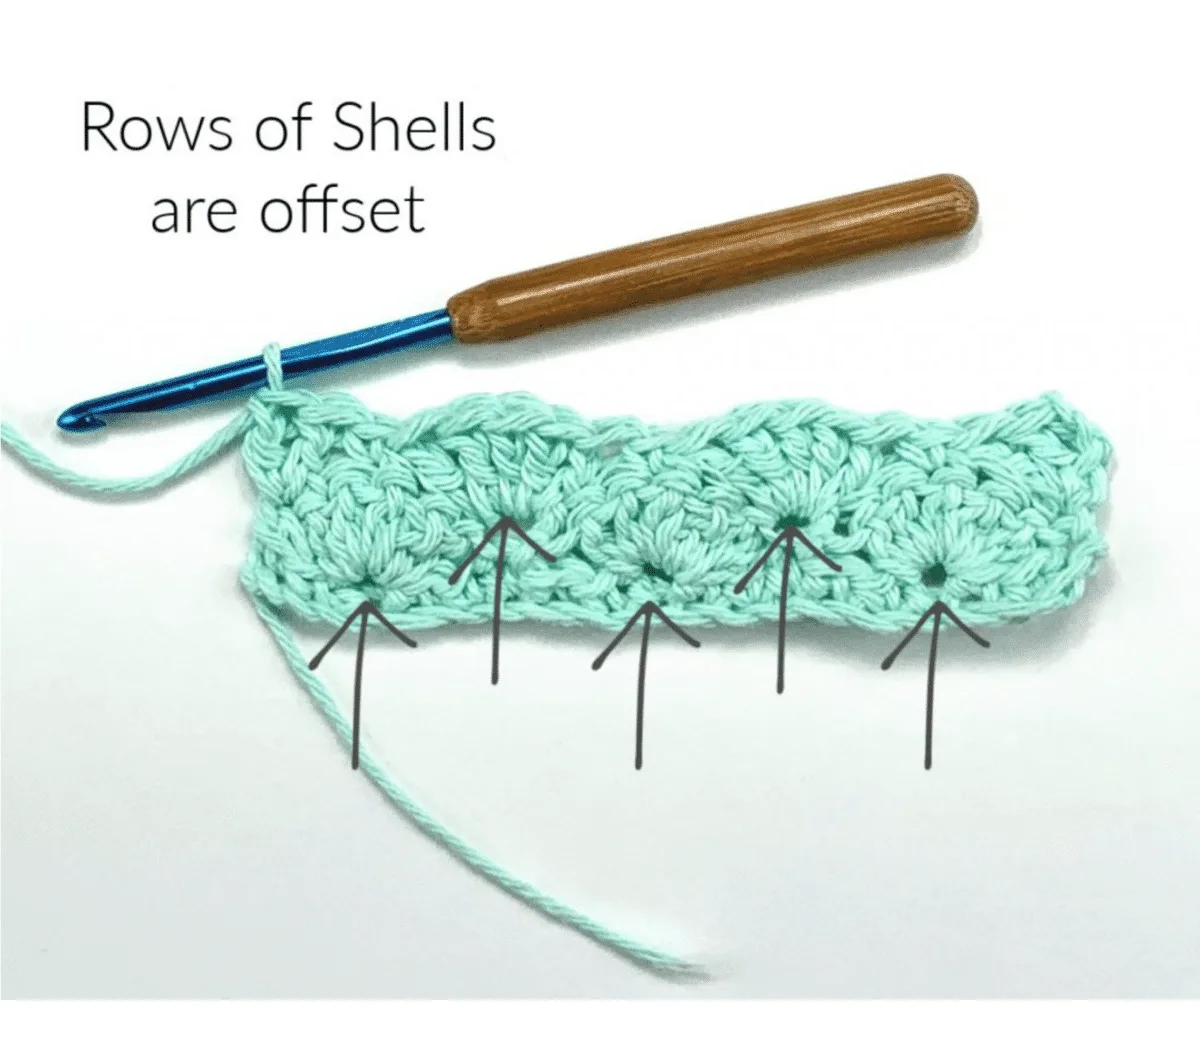
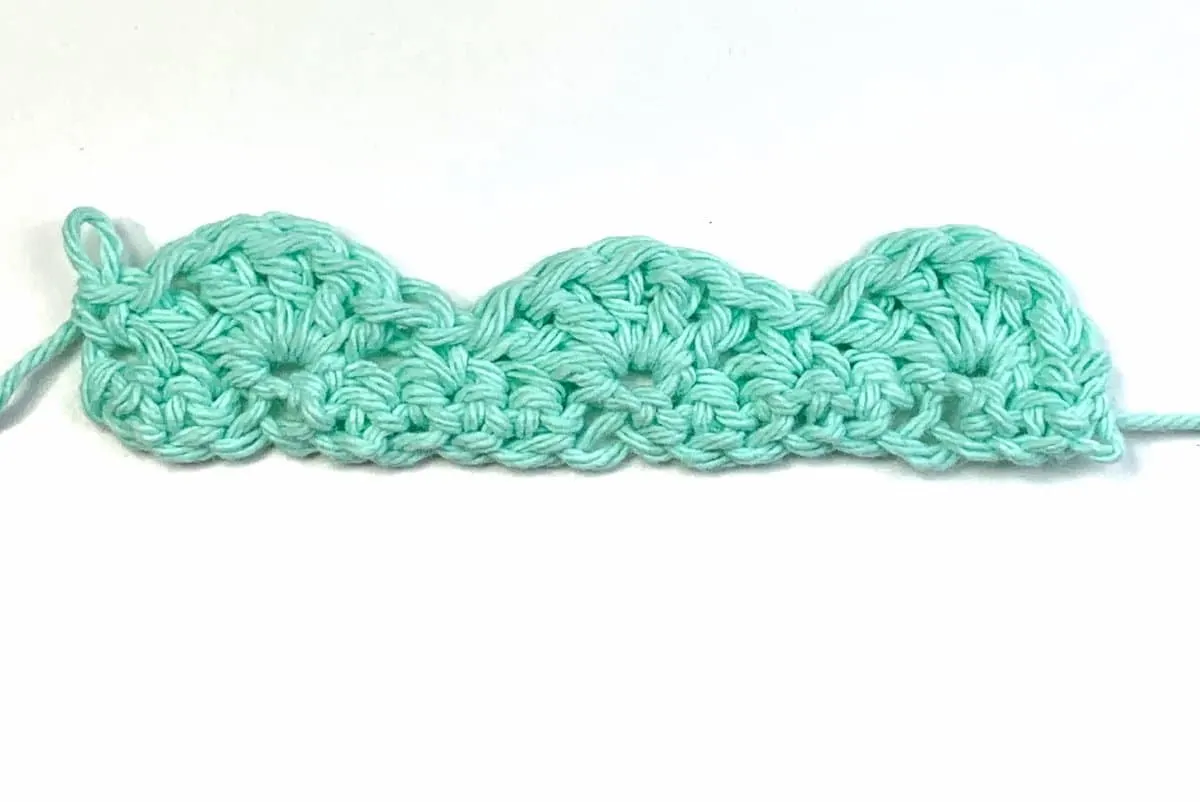
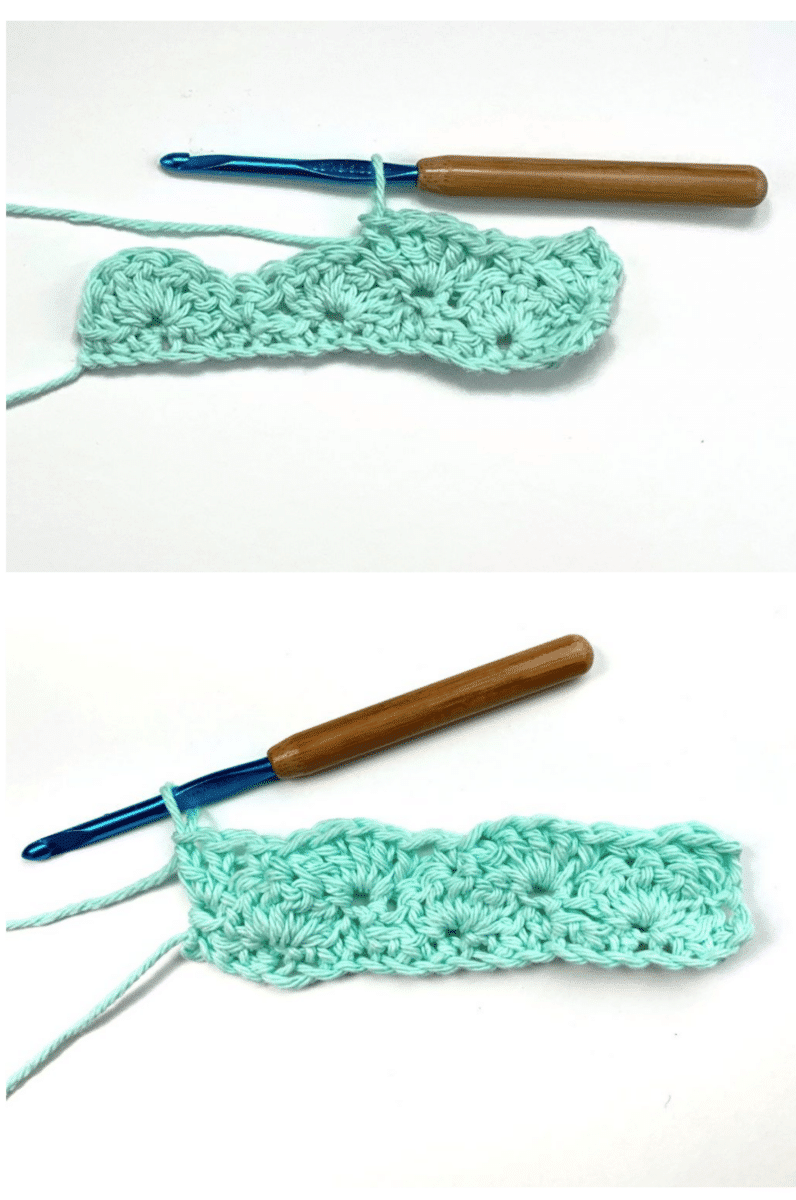
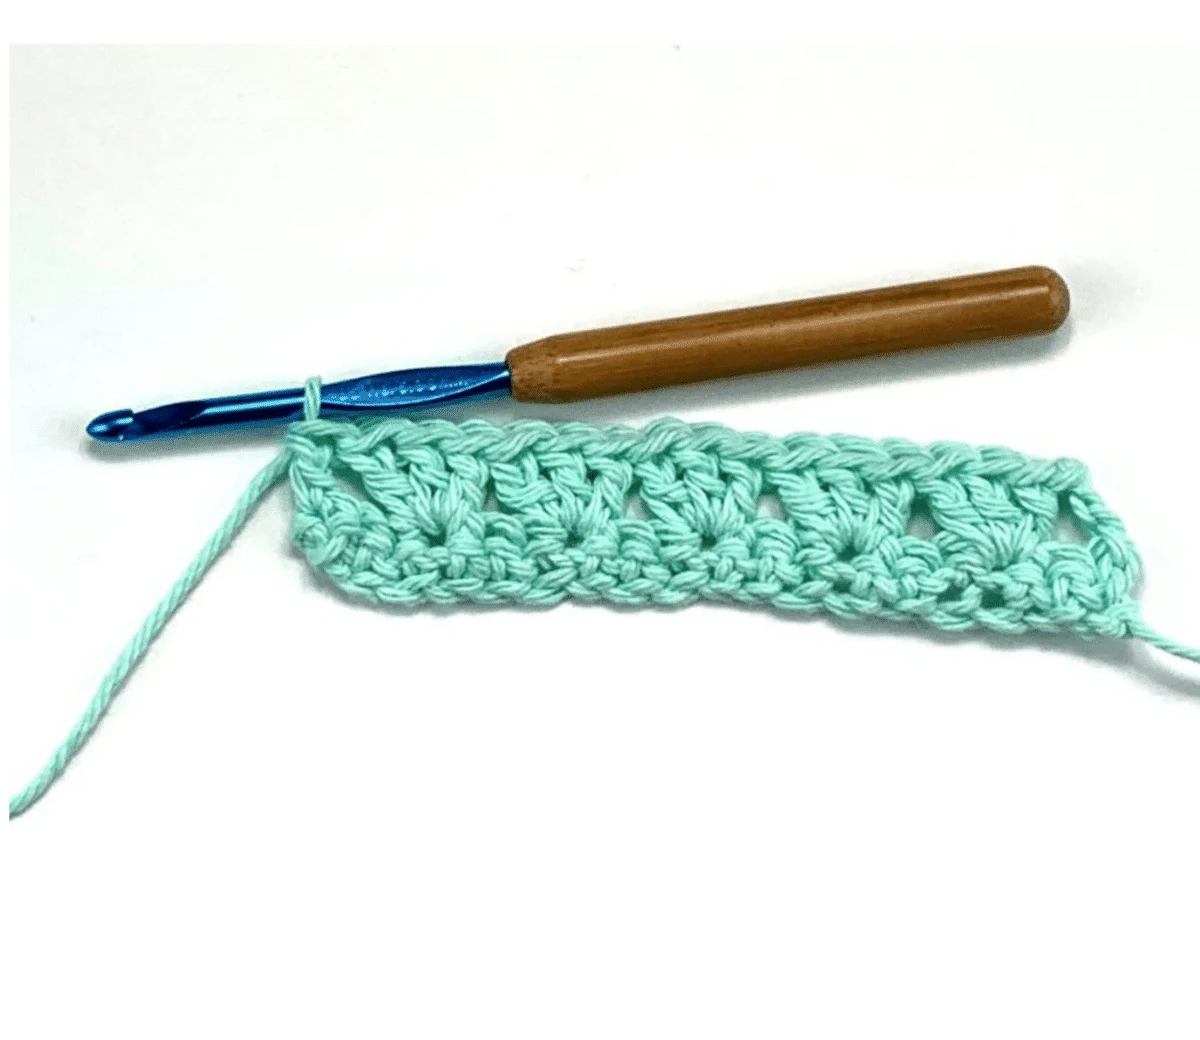
The first variation is a basic 5 double crochet (dc) shell with offset rows, as seen in the photo below.
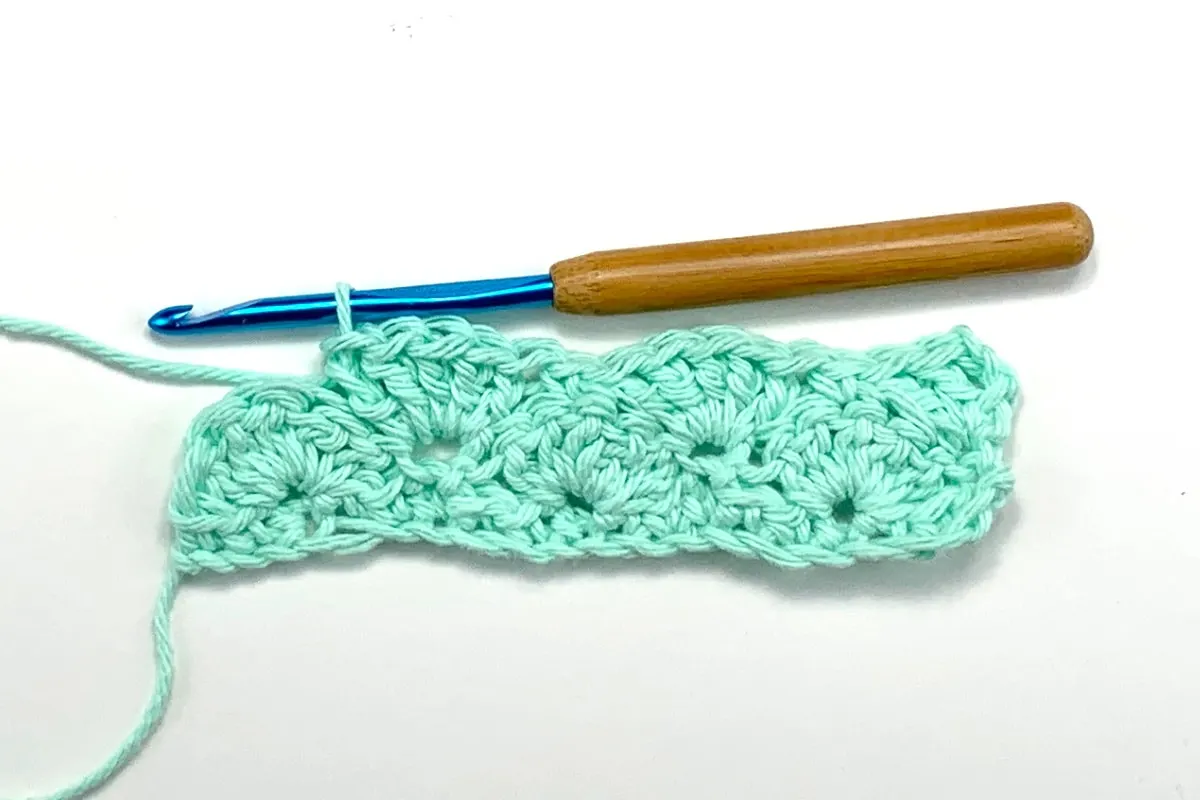
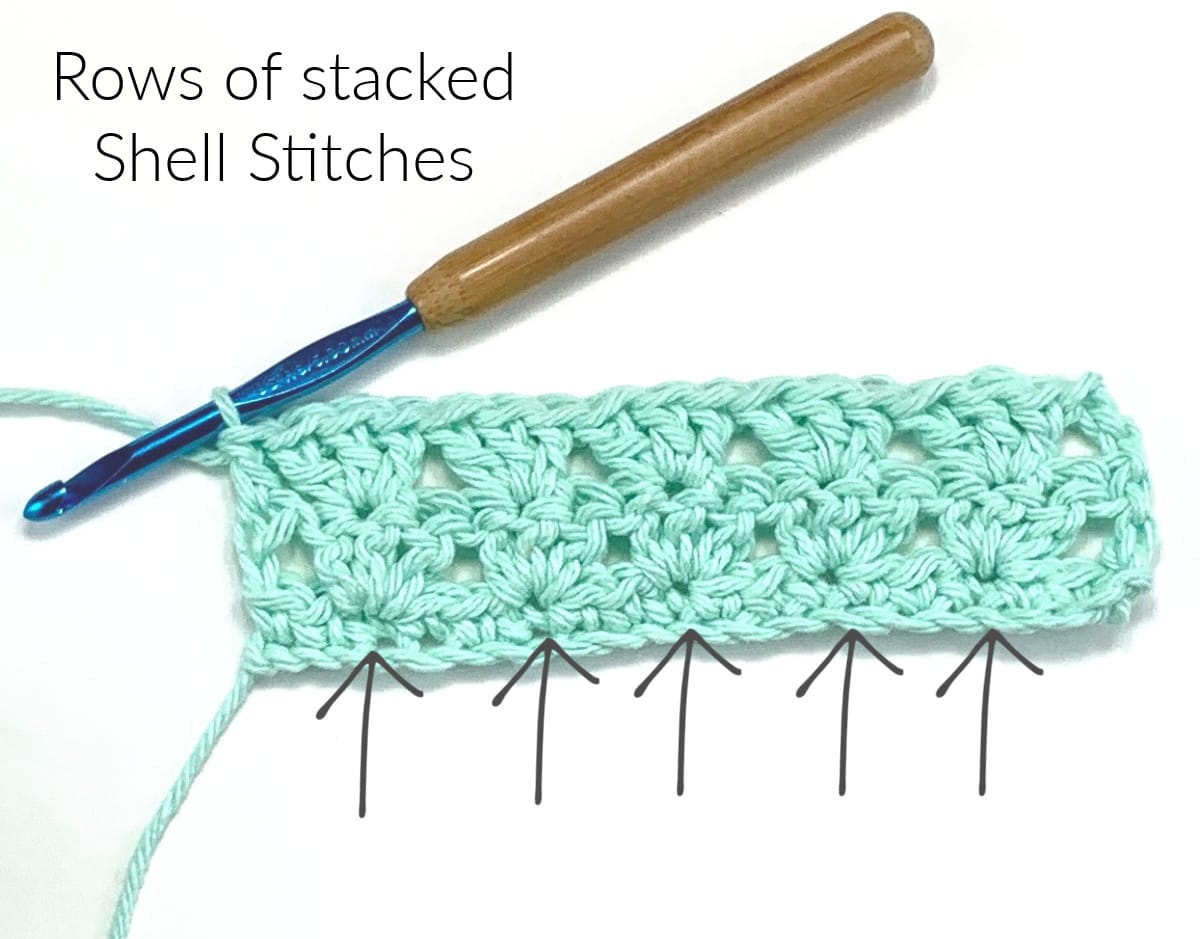
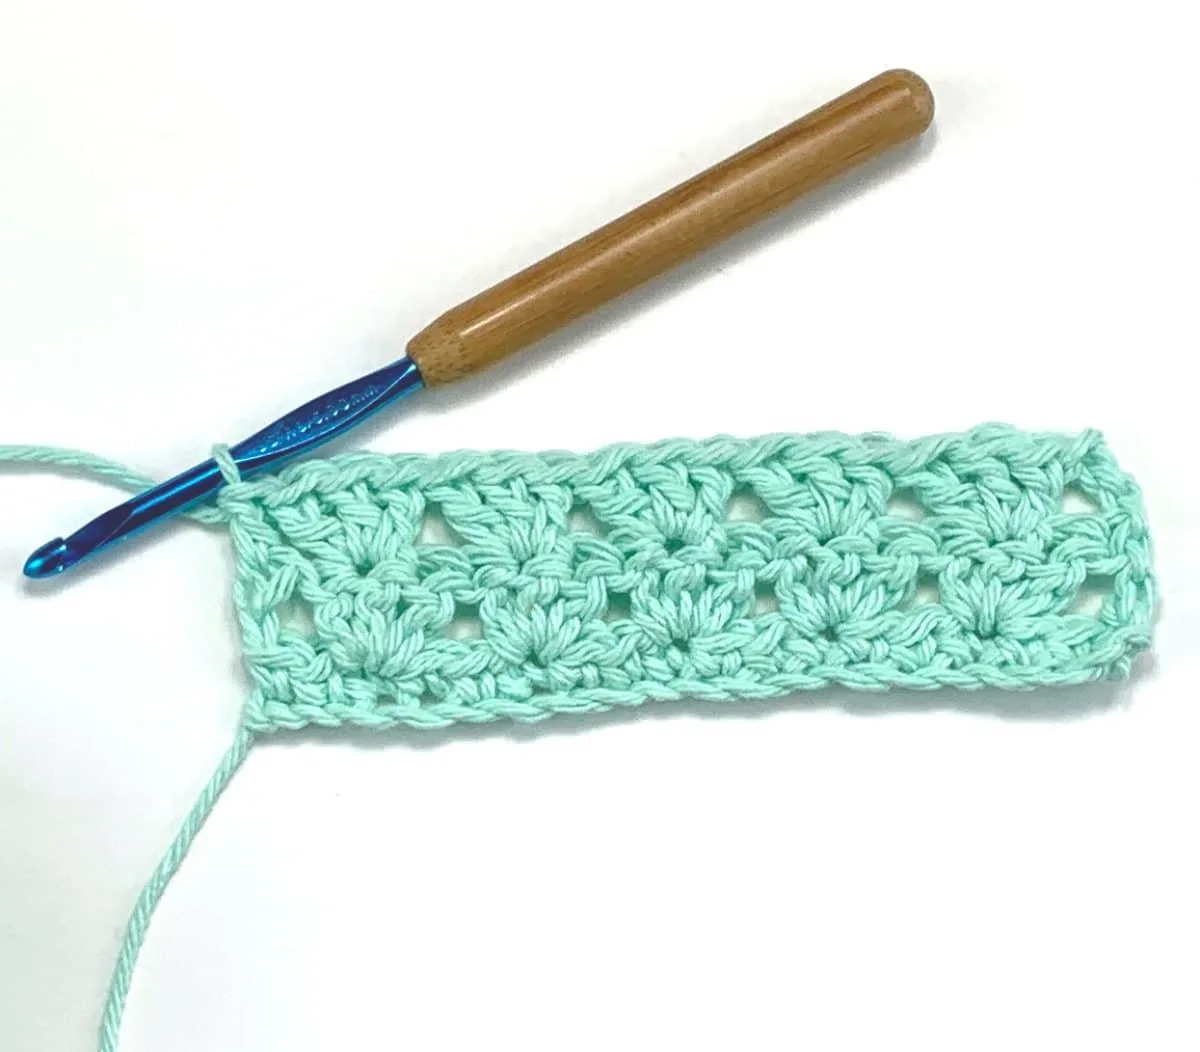
With the second variation, each shell consists of 3 double crochets (dc) and the rows are stacked, meaning the shells are on top of each other, as seen in the photo below.

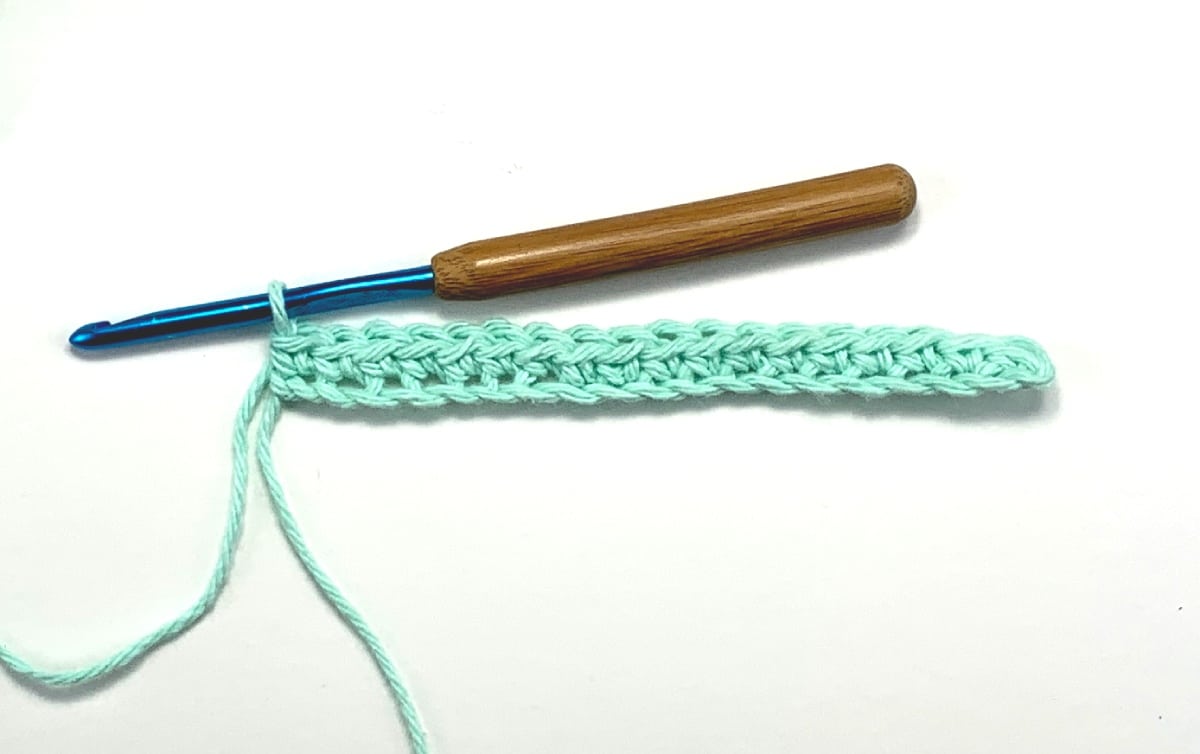
Regardless of which variation you want to make, you will need some foundation stitches. This can be any type of crochet swatch you already have. I began with some simple chain stitches (ch) and then I worked a row of single crochets (sc) into the chains.
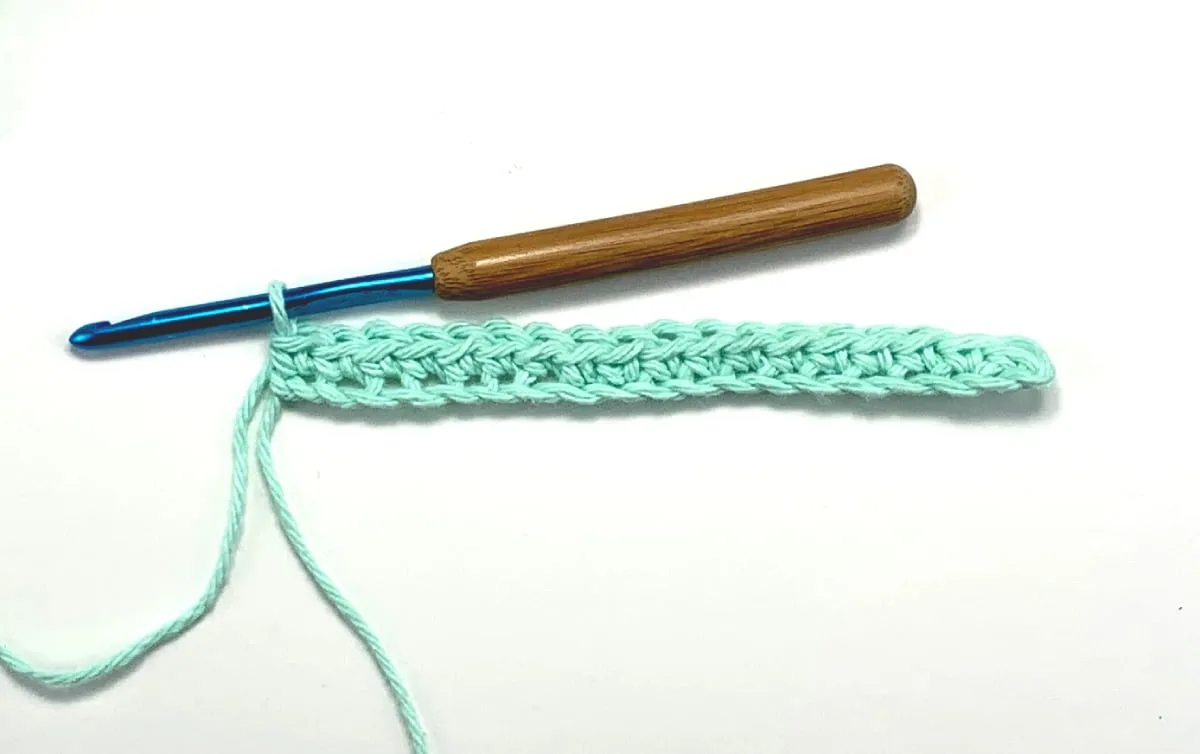
The 5 Double Crochet Stitch Shell
To make a row of 5 DC shells come out even, your chain stitches will need to be in multiples of 6 + 1 (for the turning chain). You will have 2 skipped stitches and 1 single crochet (sc) between each of the shells on all the rows.
The second, fourth, sixth etc. rows will begin and end with a half shell stitch and then follow the skip 2, sc 1 pattern in between.
Note: My sample piece was started with 19 chains. After deducting the 1 turning chain, the working rows now have 18 stitches.
First Row of Shells
Skip (sk) 2 stitches and make a double crochet (dc) in the next stitch. Then work 4 more doubles in the same stitch for a total of 5 dcs in the third stitch from below.
If you need a refresher, see our tutorial for how to make double stitches.
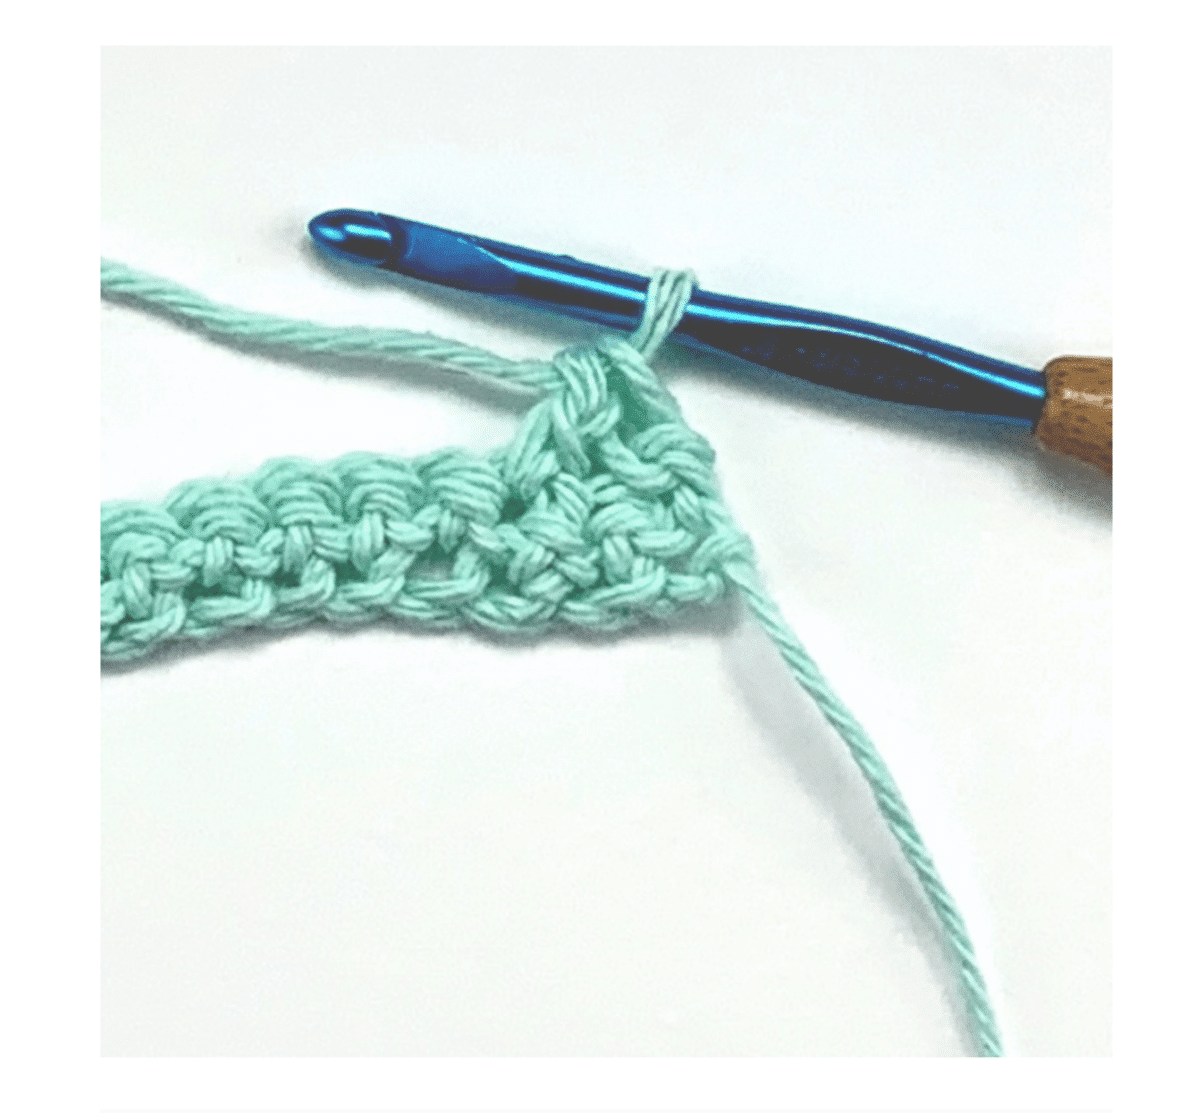
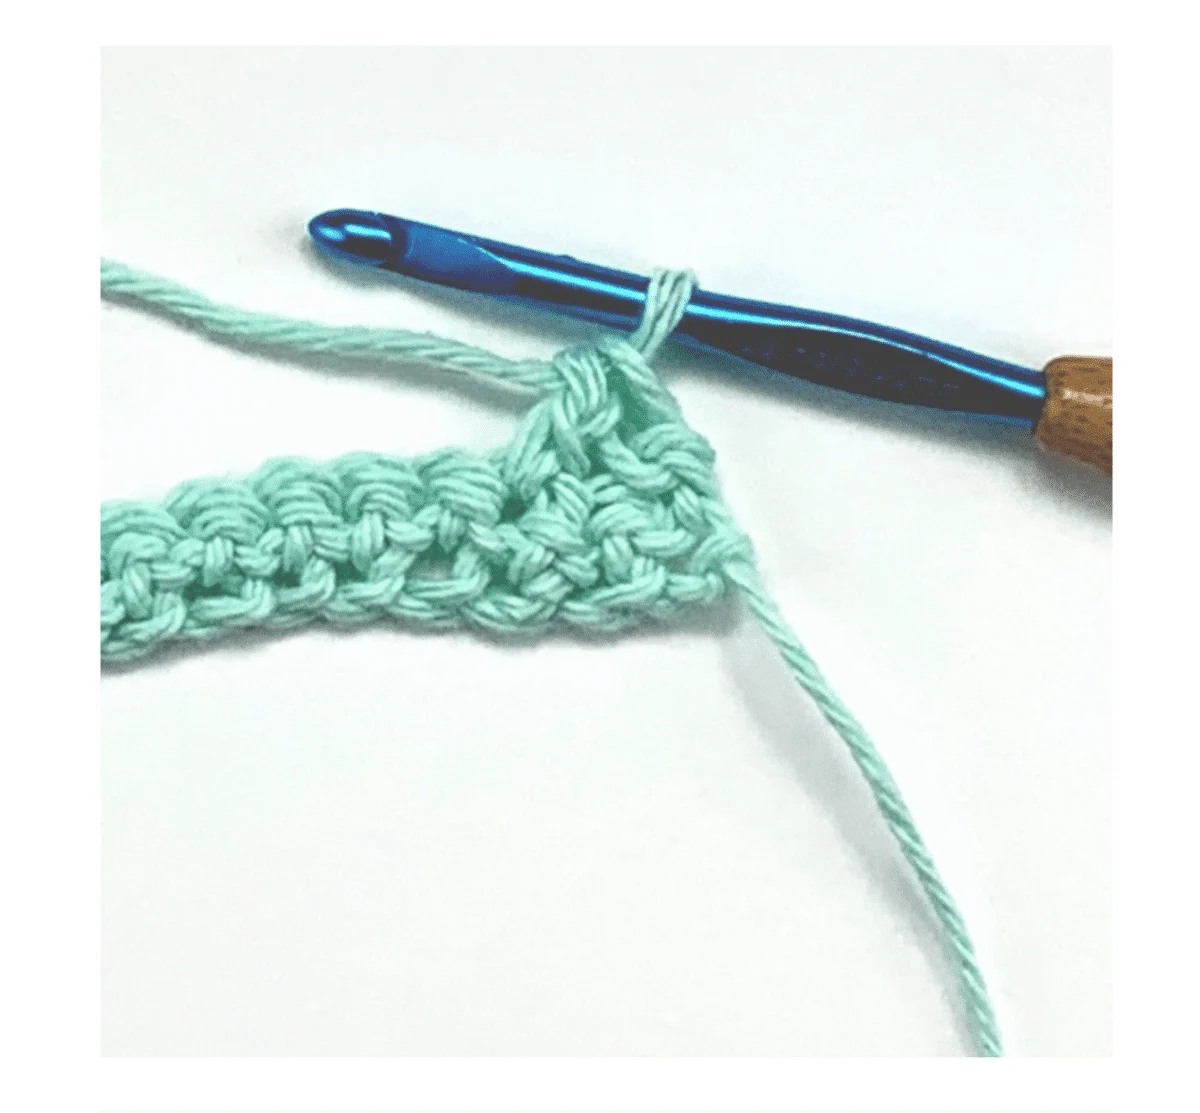


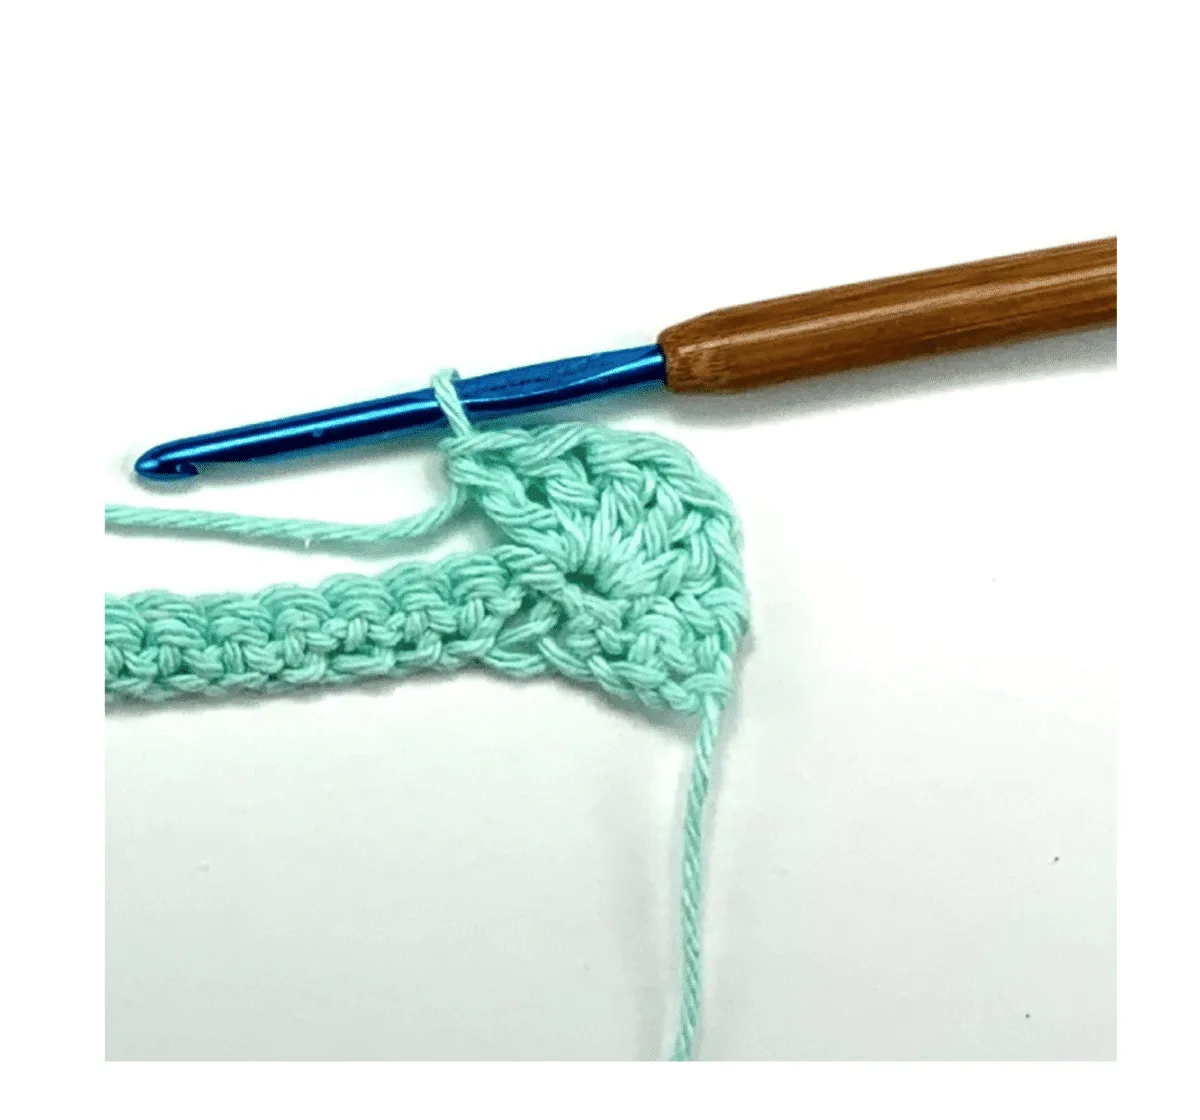
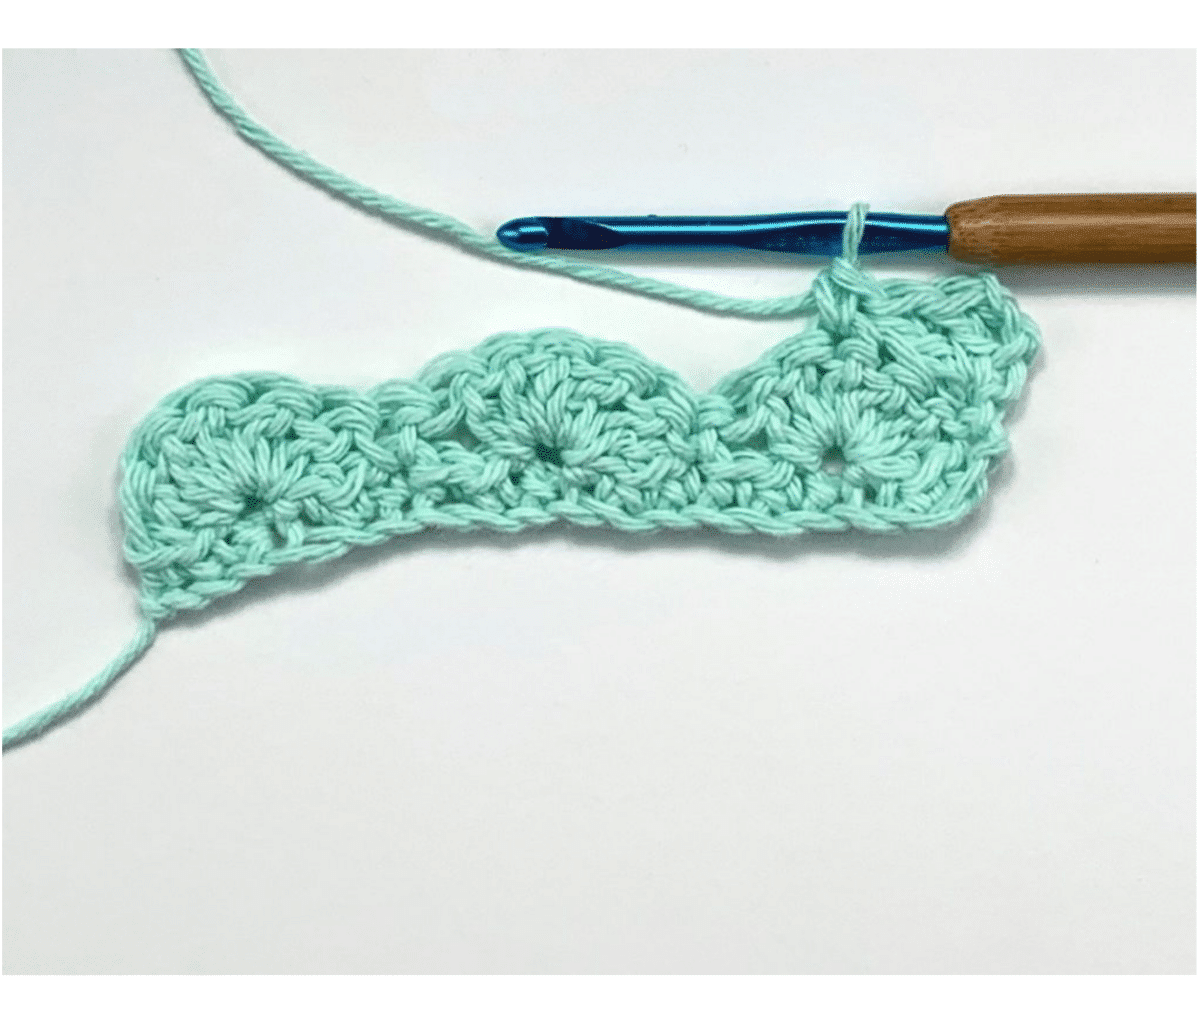
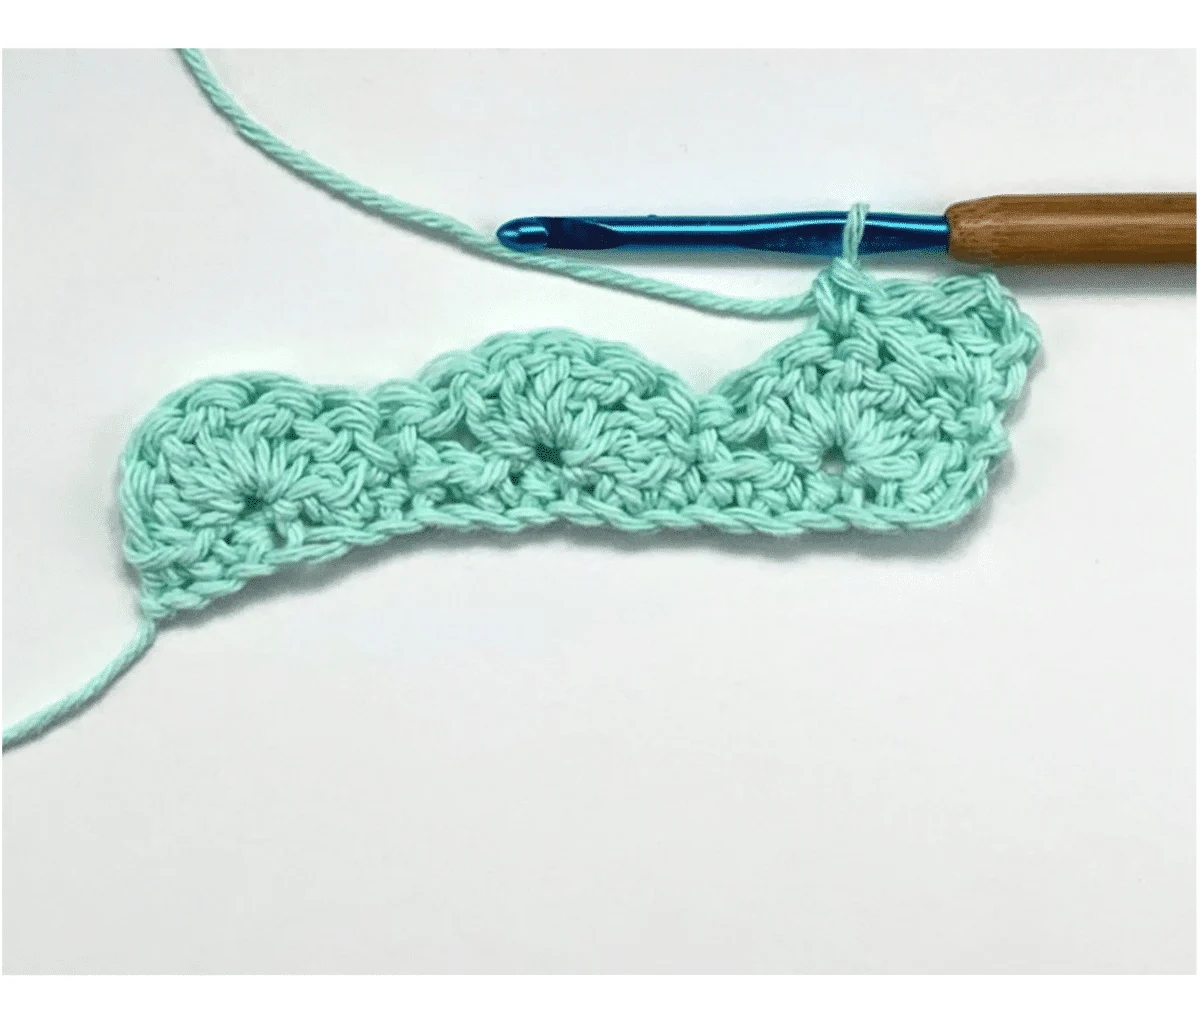
Next, you will again skip 2 stitches (sk), then make a single crochet (sc) in the next stitch and skip 2 more stitches. (sk 2, sc, sk 2)

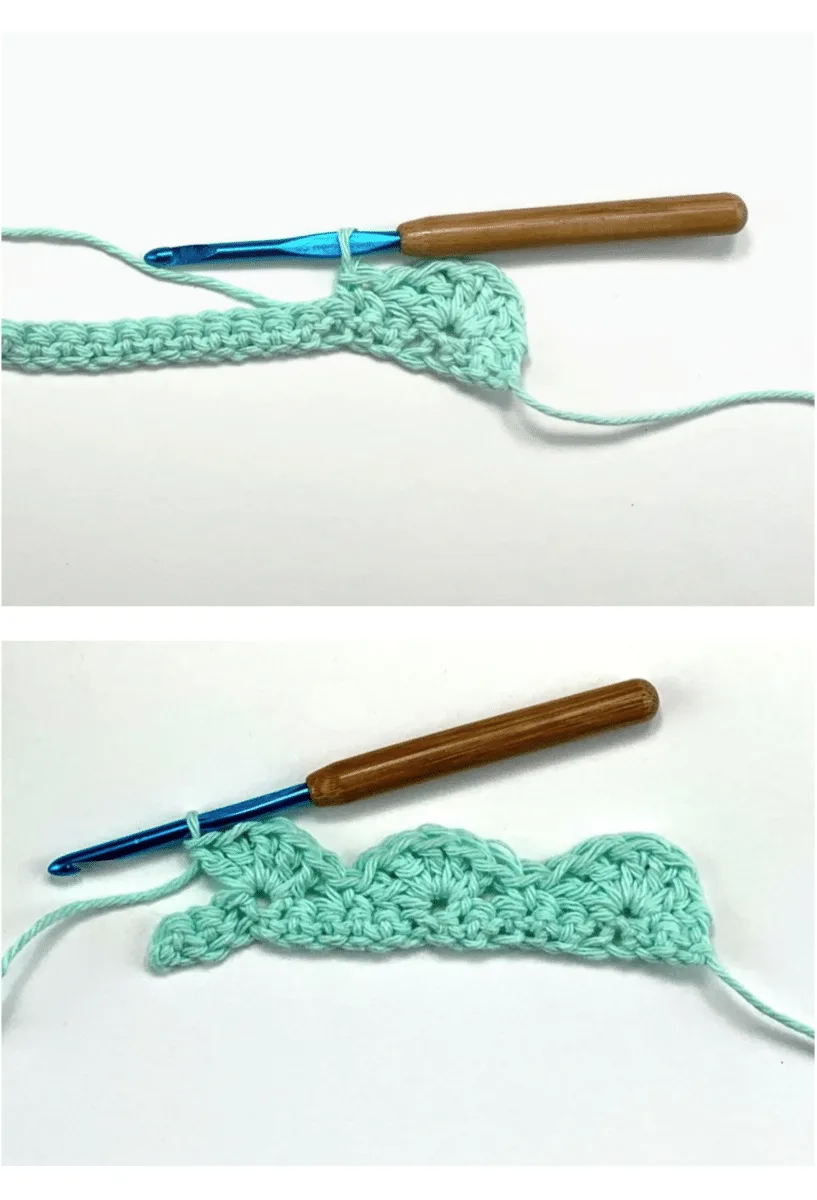
Repeat the above steps until you get to the end of the row. Since I started with 18 stitches, the directions would be written as follows:
Sk 2, 5 dc in next stitch, sk 2, sc, sk 2, 5 dc in next stitch, sk 2, sc, sk 2, 5 dc in next stitch, sk 2, sc in last stitch. Turn.

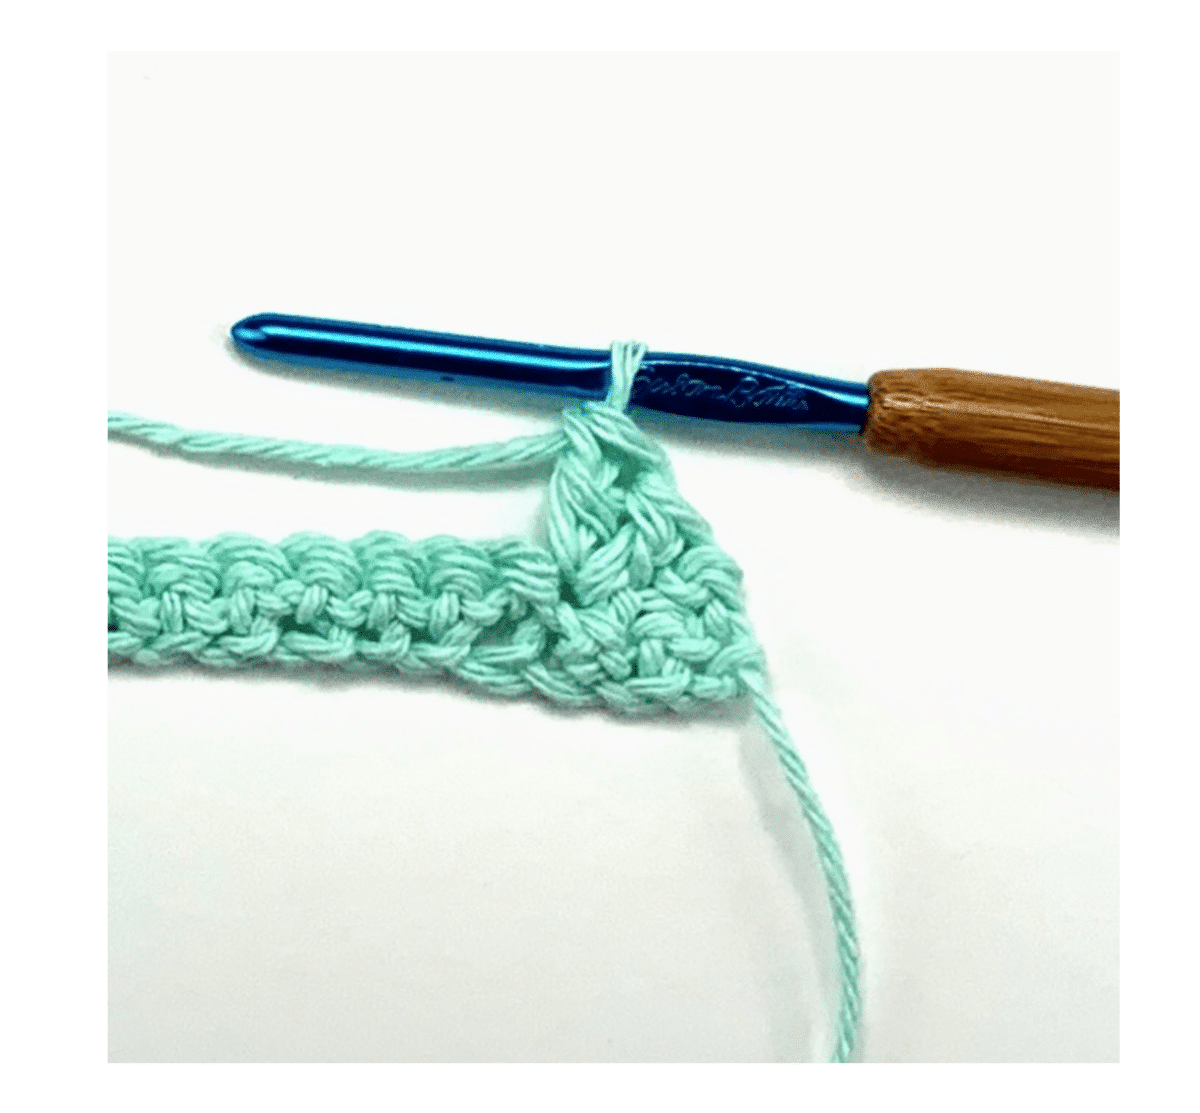
Second Row of Shells
If you want to have the shells alternating with each the row, you will now start the next row with a half shell.
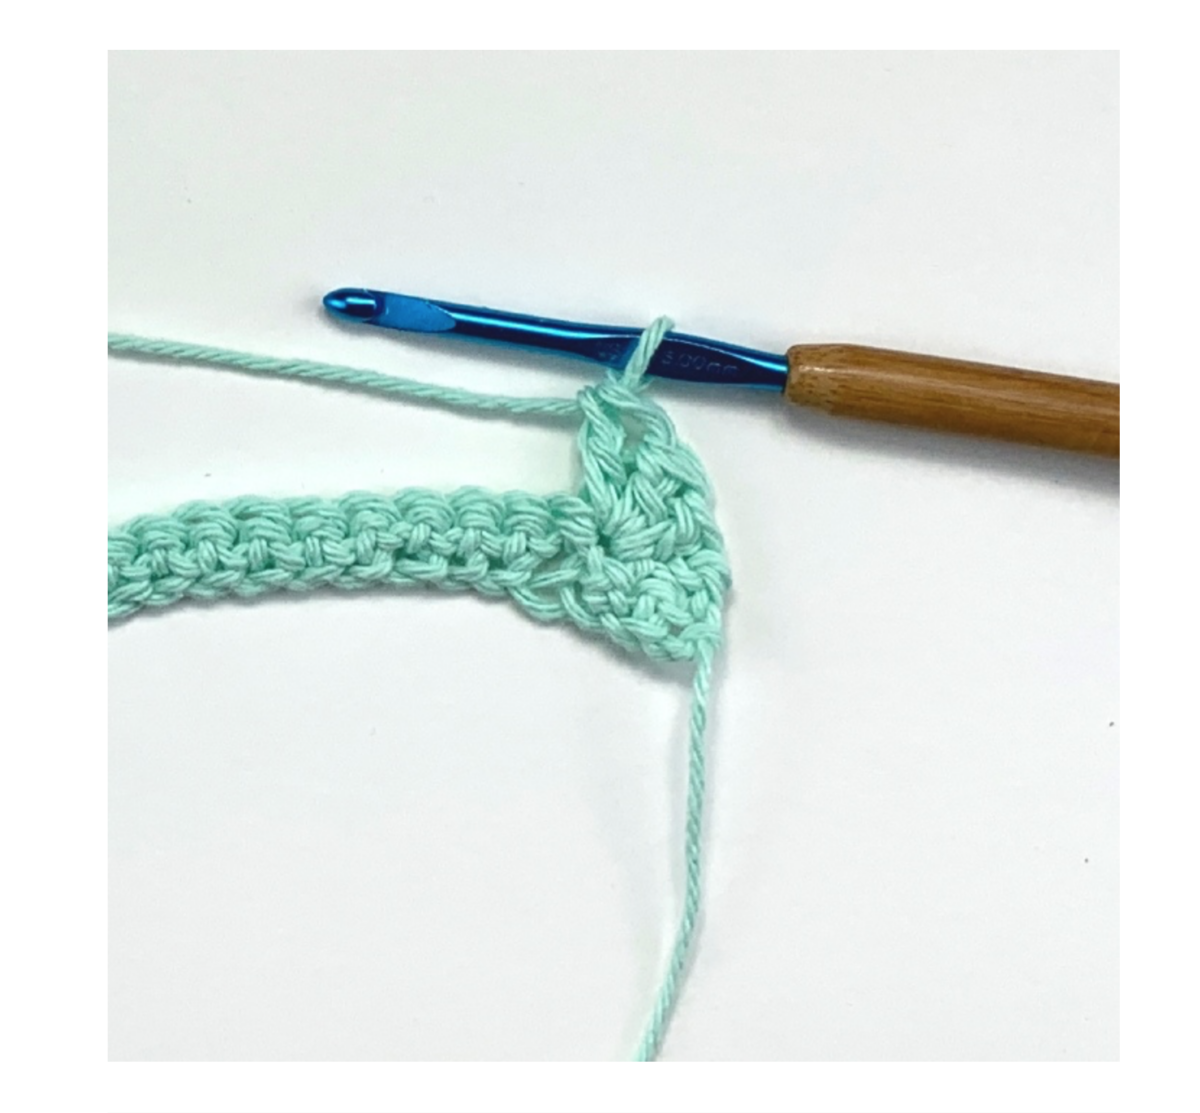
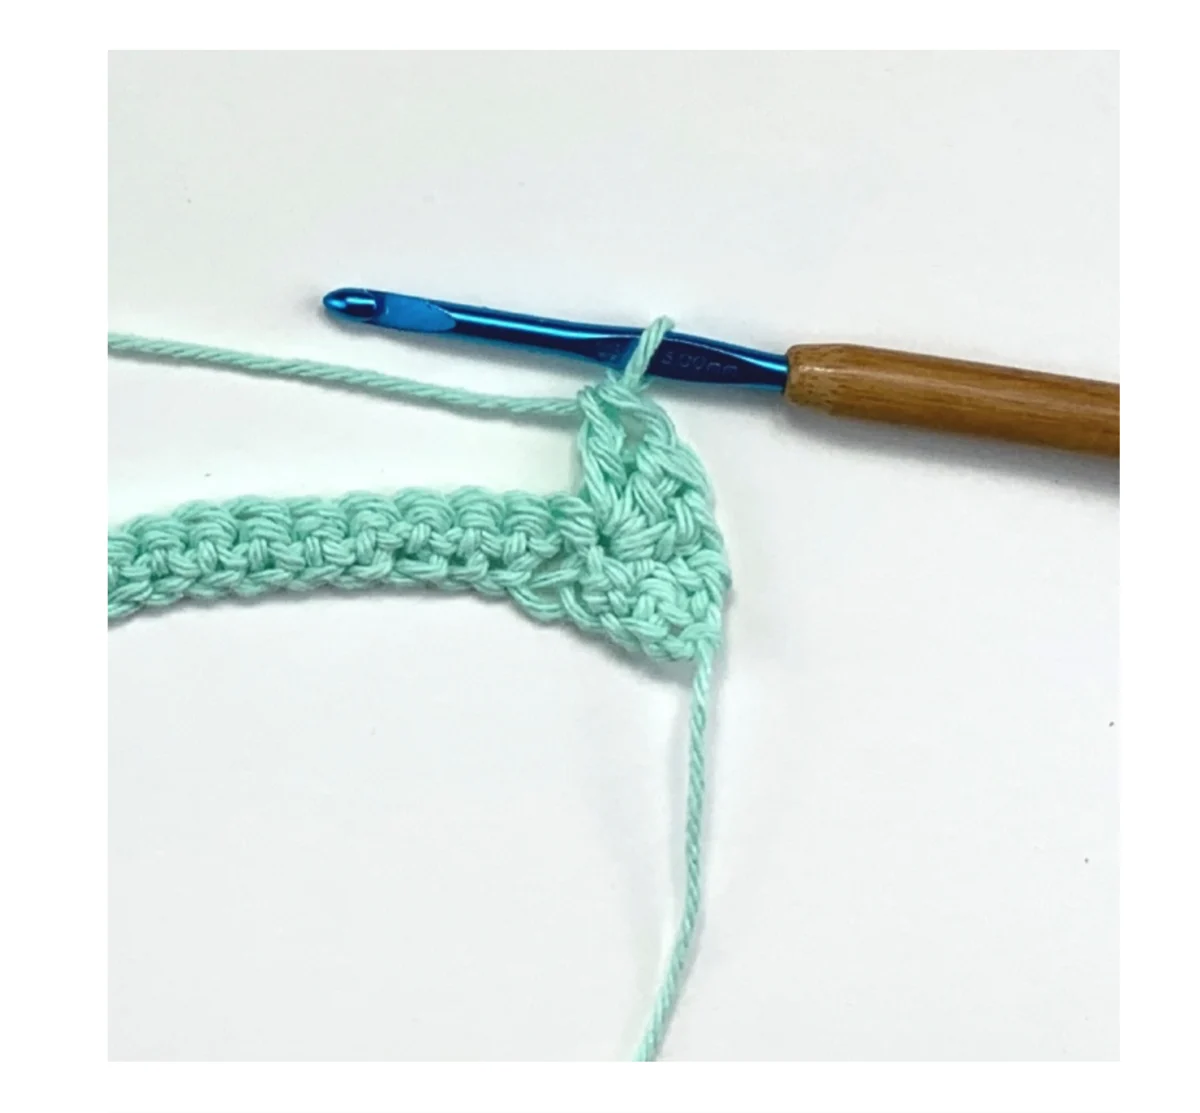
Start by chaining 3 which will count as a dc. Then work 2 doubles (dc) in the same stitch. (This makes up the first half shell).

Now you will follow the same formula of sk 2, sc, sk 2 and then you will make 5 dcs in between the shells from the row below. Repeat sk 2, sc, sk 2, 5 dcs. At the end of the row, you will make another 2 dc half shell and turn.

This entire row would be written as: Ch 3, 2 dc in same stitch, sk 2, sc, sk 2, 5 dc in next stitch, sk 2, sc, sk 2, 5 dc in next stitch, sk 2, sc, 2 dc in last stitch. Turn.
Continue repeating the above rows, alternating your shells so they ‘nest’ instead of stacking on top of each other.
Next, I will show you how to make your rows of shells stack on top of each other, as opposed to alternating positions.
The 3 Double Crochet Stacked Shell Stitch
In this variation of the shell stitch, I will make each shell stitch (sh) using 3 double stitches (dc) instead of 5. In order to make them stack on top of each other, I won’t be using half shells at the ends of the second row.
Instead, each row will be worked exactly the same way.
First Row of Shells
Again, you will start with a row of chains (ch) and then a row of single crochet stitches (sc). I also started this one with 19 chains (multiple of 3 + 1).
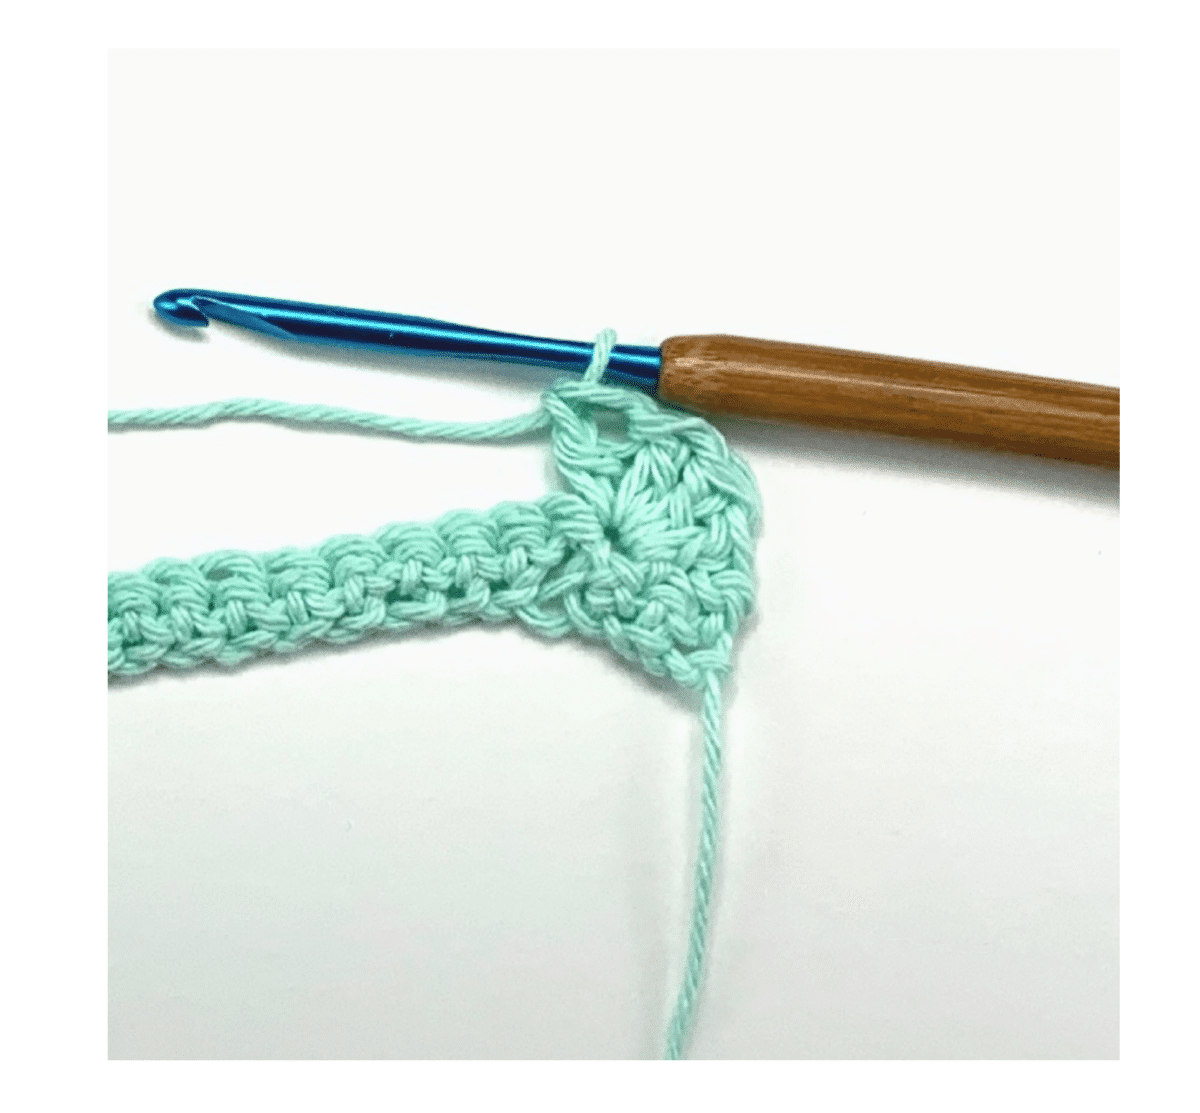
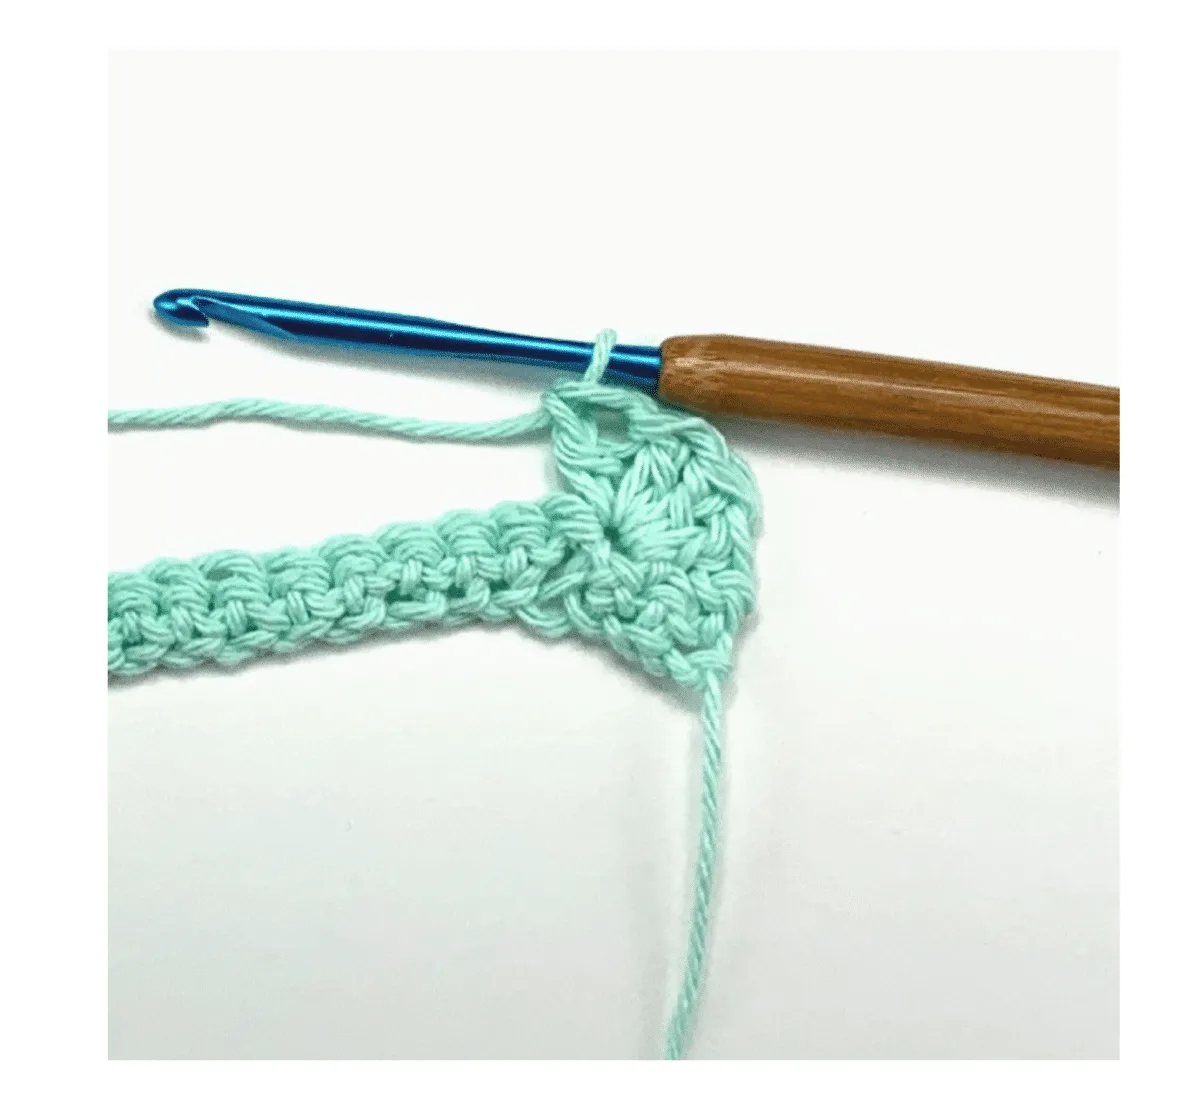
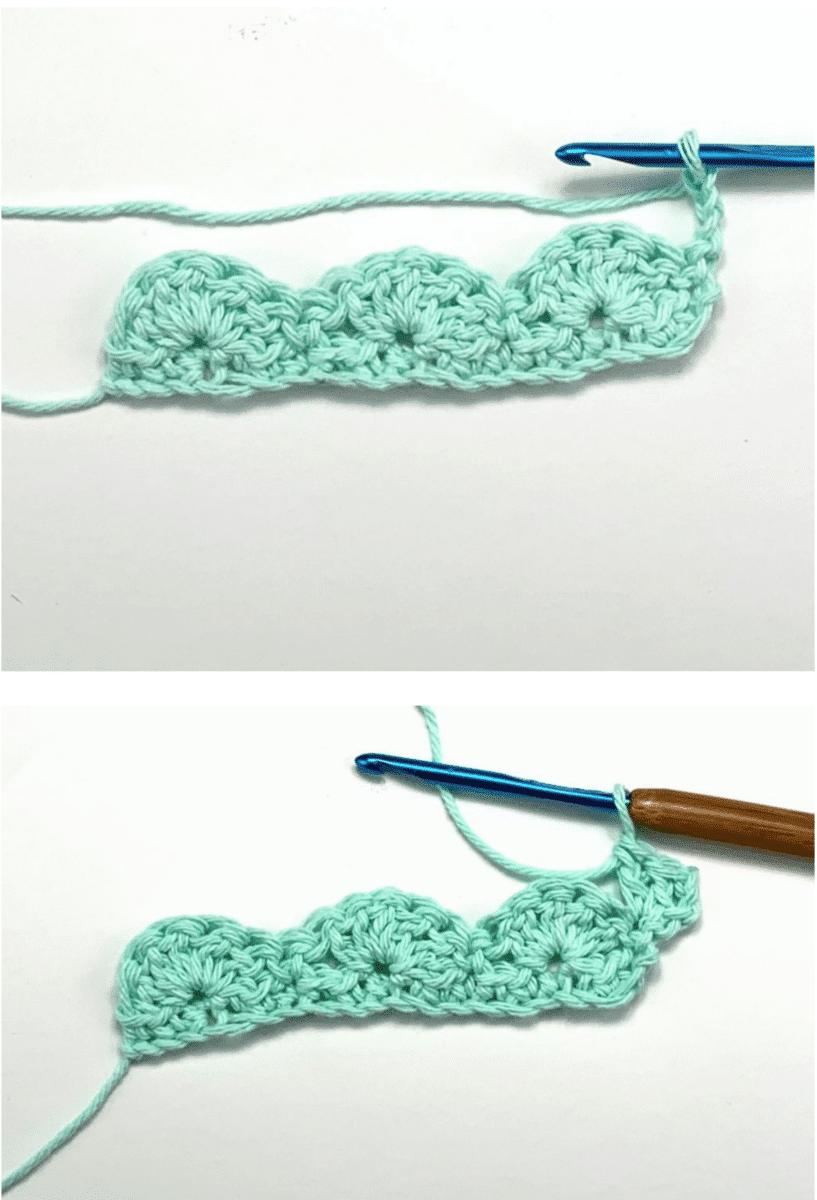
Skip 2 stitches, then work 3 doubles in the next stitch. Repeat from the beginning, skipping 2 and working 3 dcs. At the end of the row, I skipped 2 and made 1 double stitch.
Sk 2, 3 dc in next, sk 2, 3 dc in next, sk 2, 3 dc in next, sk 2, 3 dc in next, sk 2, 3 dc in next, sk 2, dc, turn.

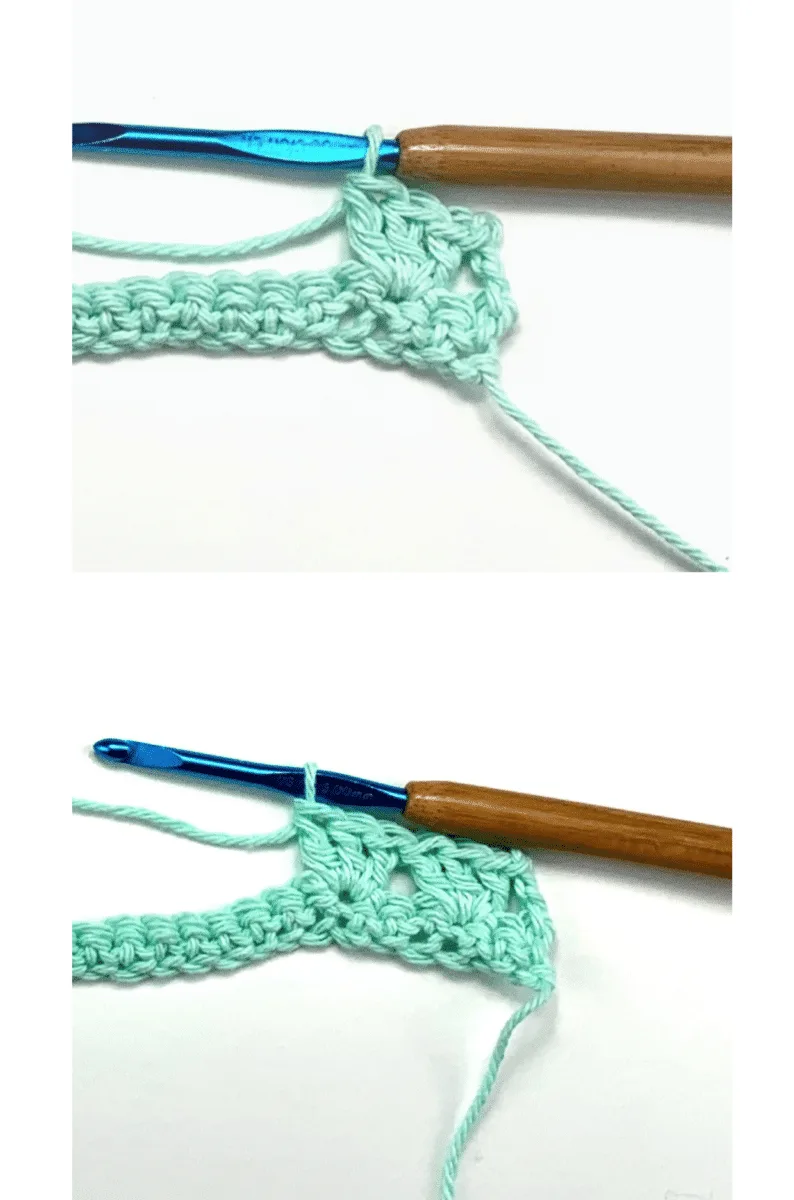

Second Row of Shells
To begin the second row, chain 2 (counts as 1 dc). Then skip 2 and work 3 dc in the next stitch. Continue skipping 2 and working 3 in the following stitch. At the end, you will again skip 2 and work a double in the last stitch.
Sk 2, 3 dc in next, sk 2, 3 dc in next, sk 2, 3 dc in next, sk 2, 3 dc in next, sk 2, 3 dc in next, sk 2, dc, turn.

These are just two variations of how you can make shell stitches. There are many more ways to make them such as using different stitches or changing the number in each shell.
Types of Crochet Shell Stitches
There are many different ways that you can make a shell stitch. One basic technique (as you see in the first tutorial above) is made with three to five double crochet or dc stitches. Those are worked in alternating rows.
In another variation, the shells are stacked on top of each other as opposed to being offset. (As seen in the second tutorial above.)
You don’t have to use only double stitches (dc) to work the shell stitch. The stitch height can be varied by using half double crochets (hdc) or triple stitches (tr).
Another variation of shell stitches is to change the number of stitches per shell. For instance, you can use 4 stitches per shell or even 7 or 8 stitches if your yarn is fine enough.
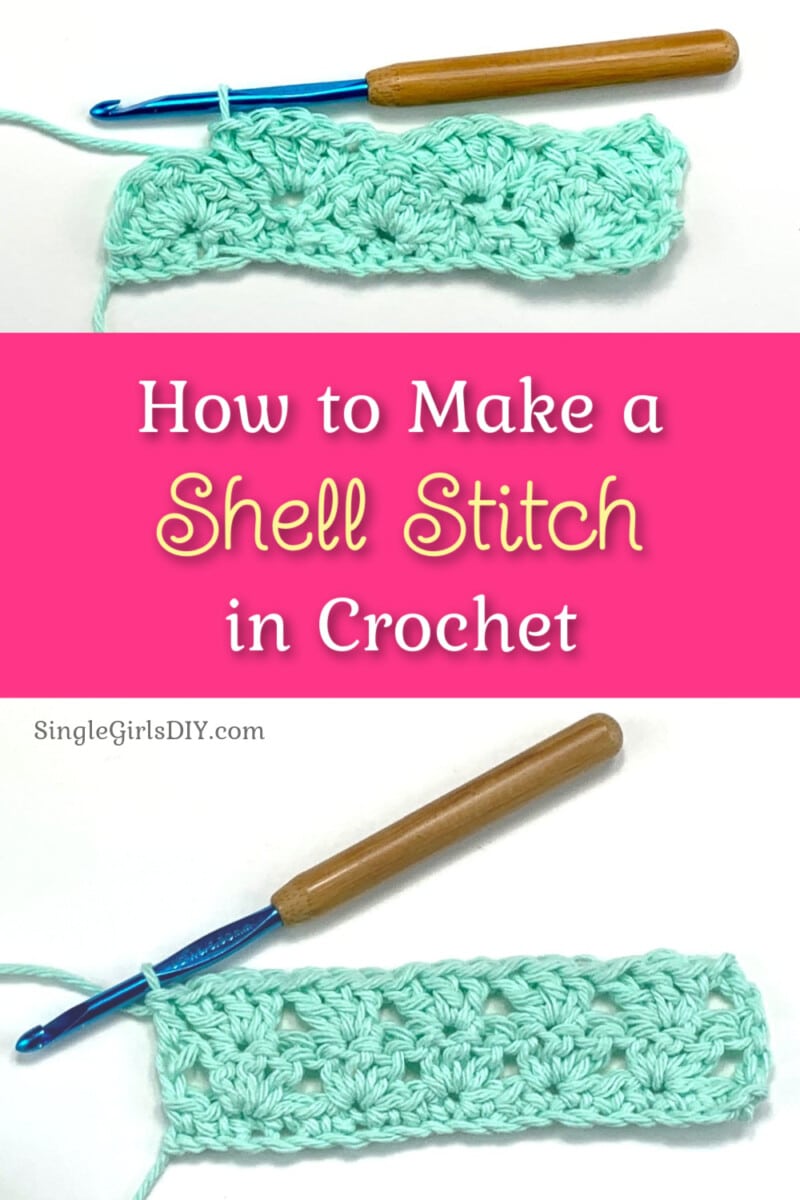

Be sure to Pin This tutorial to save for later when you find a pattern that uses shell stitches!
Related Stitch Tutorials:
- How to Make a Crochet Magic Circle
- Easy Slip Knot Tutorial
- 6 Beginner Crochet Stitches
- Easy Waffle Stitch
- How to Make a Puff Stitch
- Front Post Double Crochet Stitch Tutorial
